

Oh Deer
Oh Deer tutorial
Easy13 steps
Oh Deer
Easy · 13 Steps
Step 1
Step 0
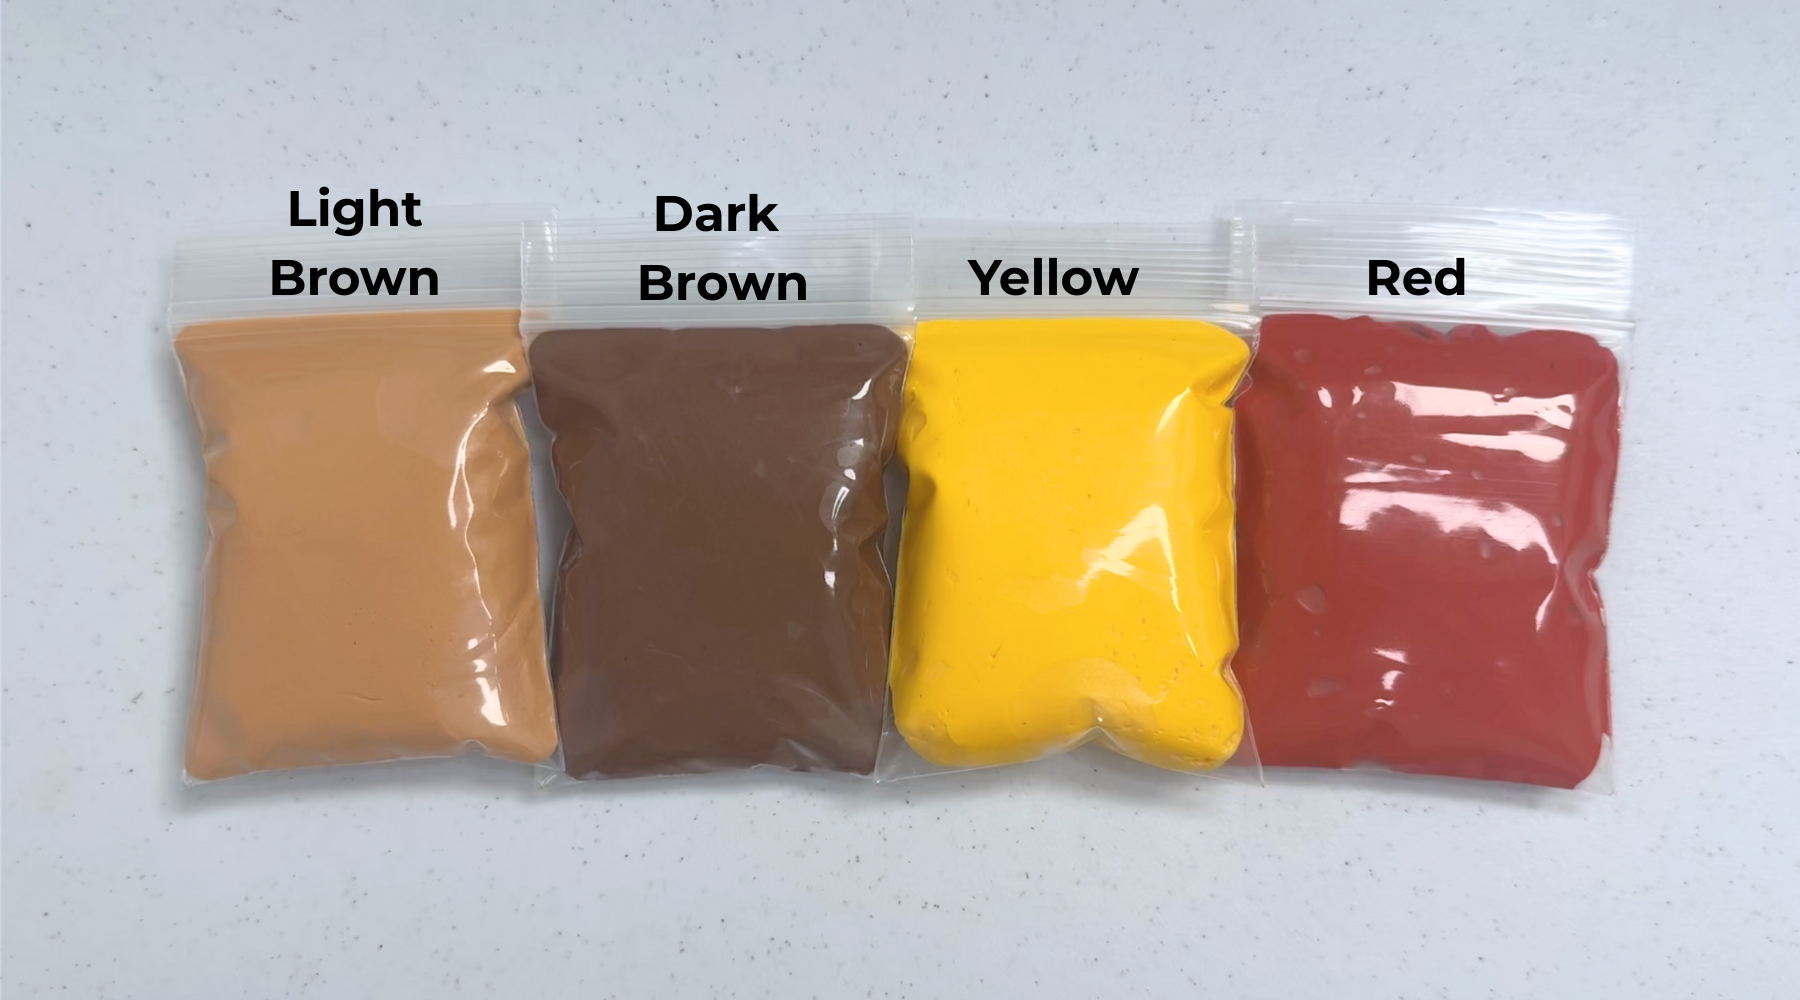
Identify light brown, dark brown, yellow, and red clay.
Step 2
Step 1
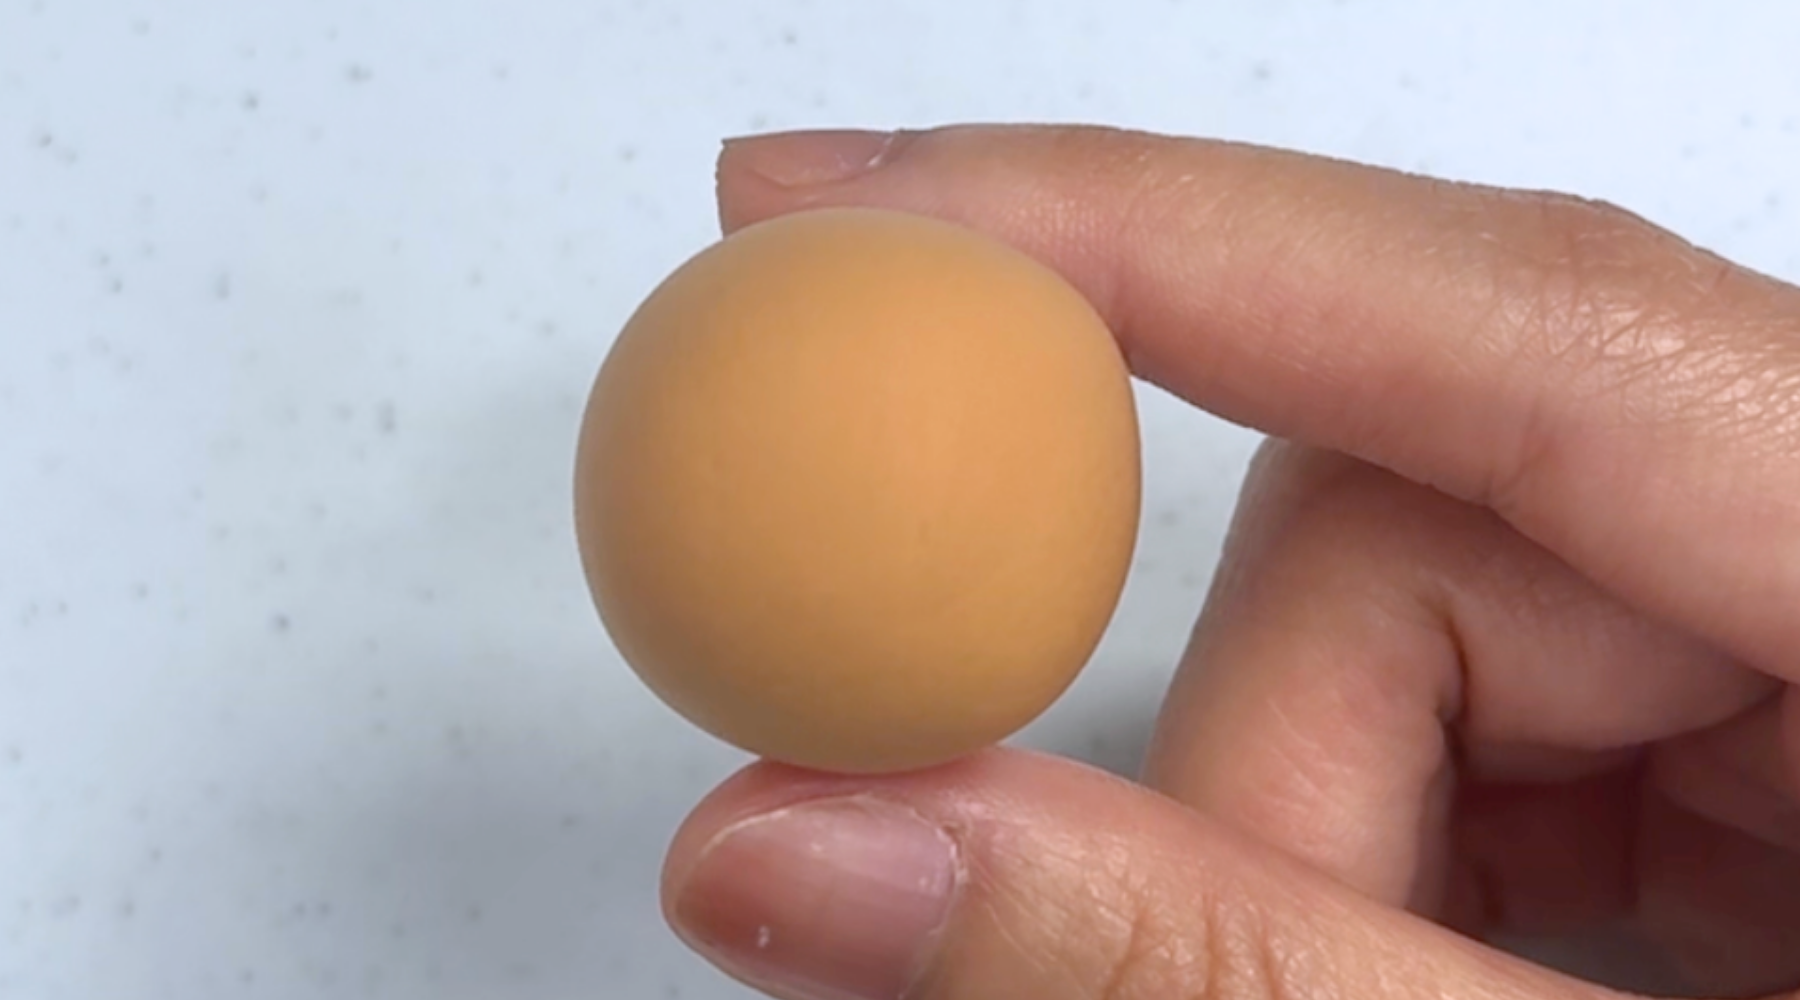
Shape the head using the light brown clay. Roll a small ball.
💡 Stretch and knead the clay to remove wrinkles and unevenness
Step 3
Step 2
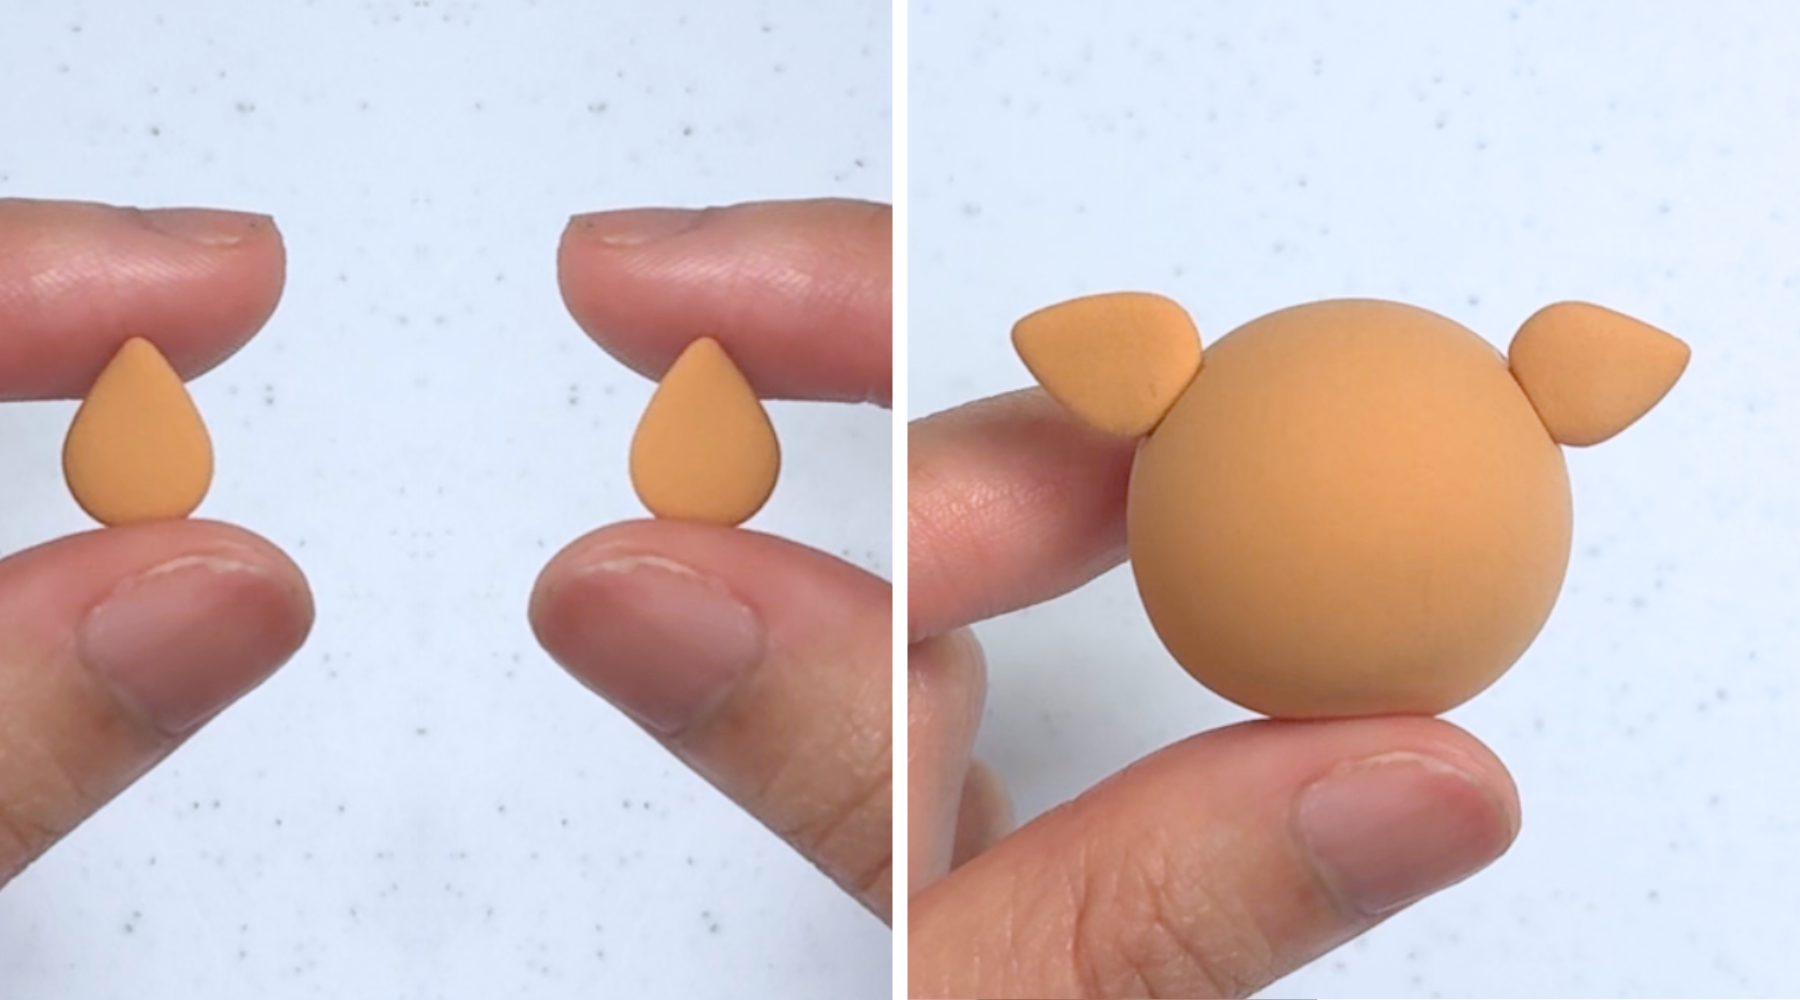
Shape the ears using the light brown clay. Make two small tear drop shapes and flatten them. Attach them on the top corners of the head.
Step 4
Step 3
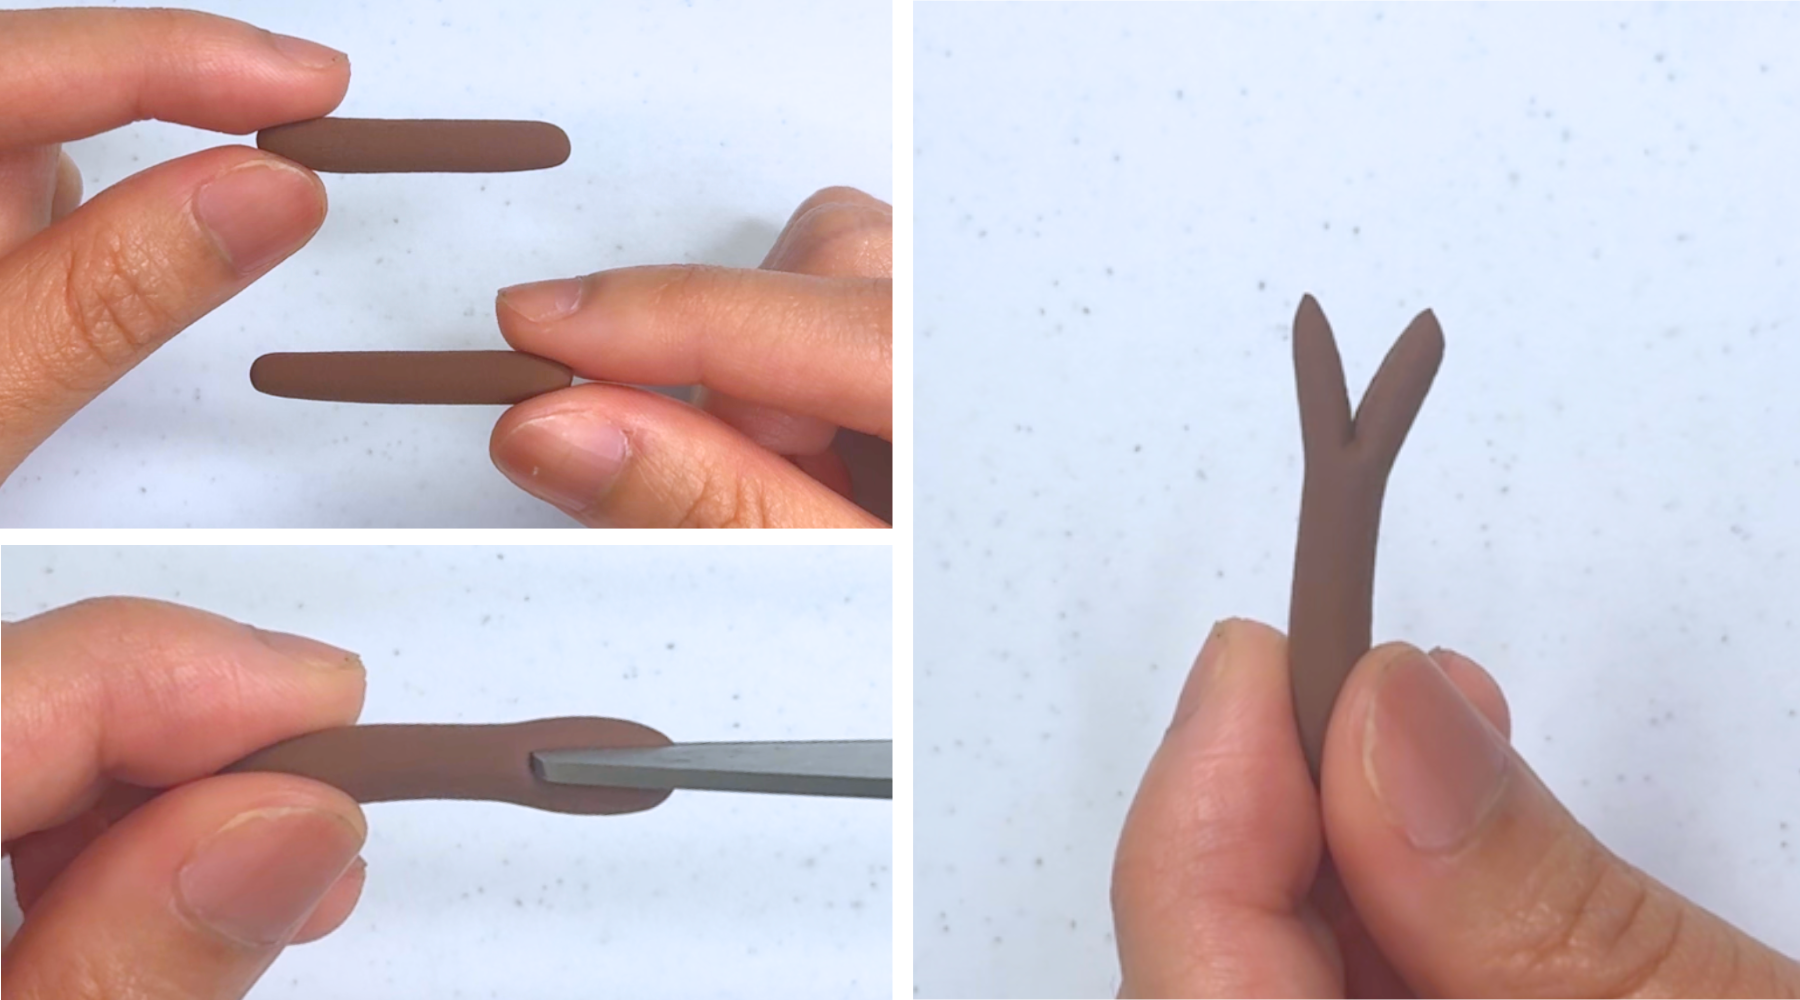
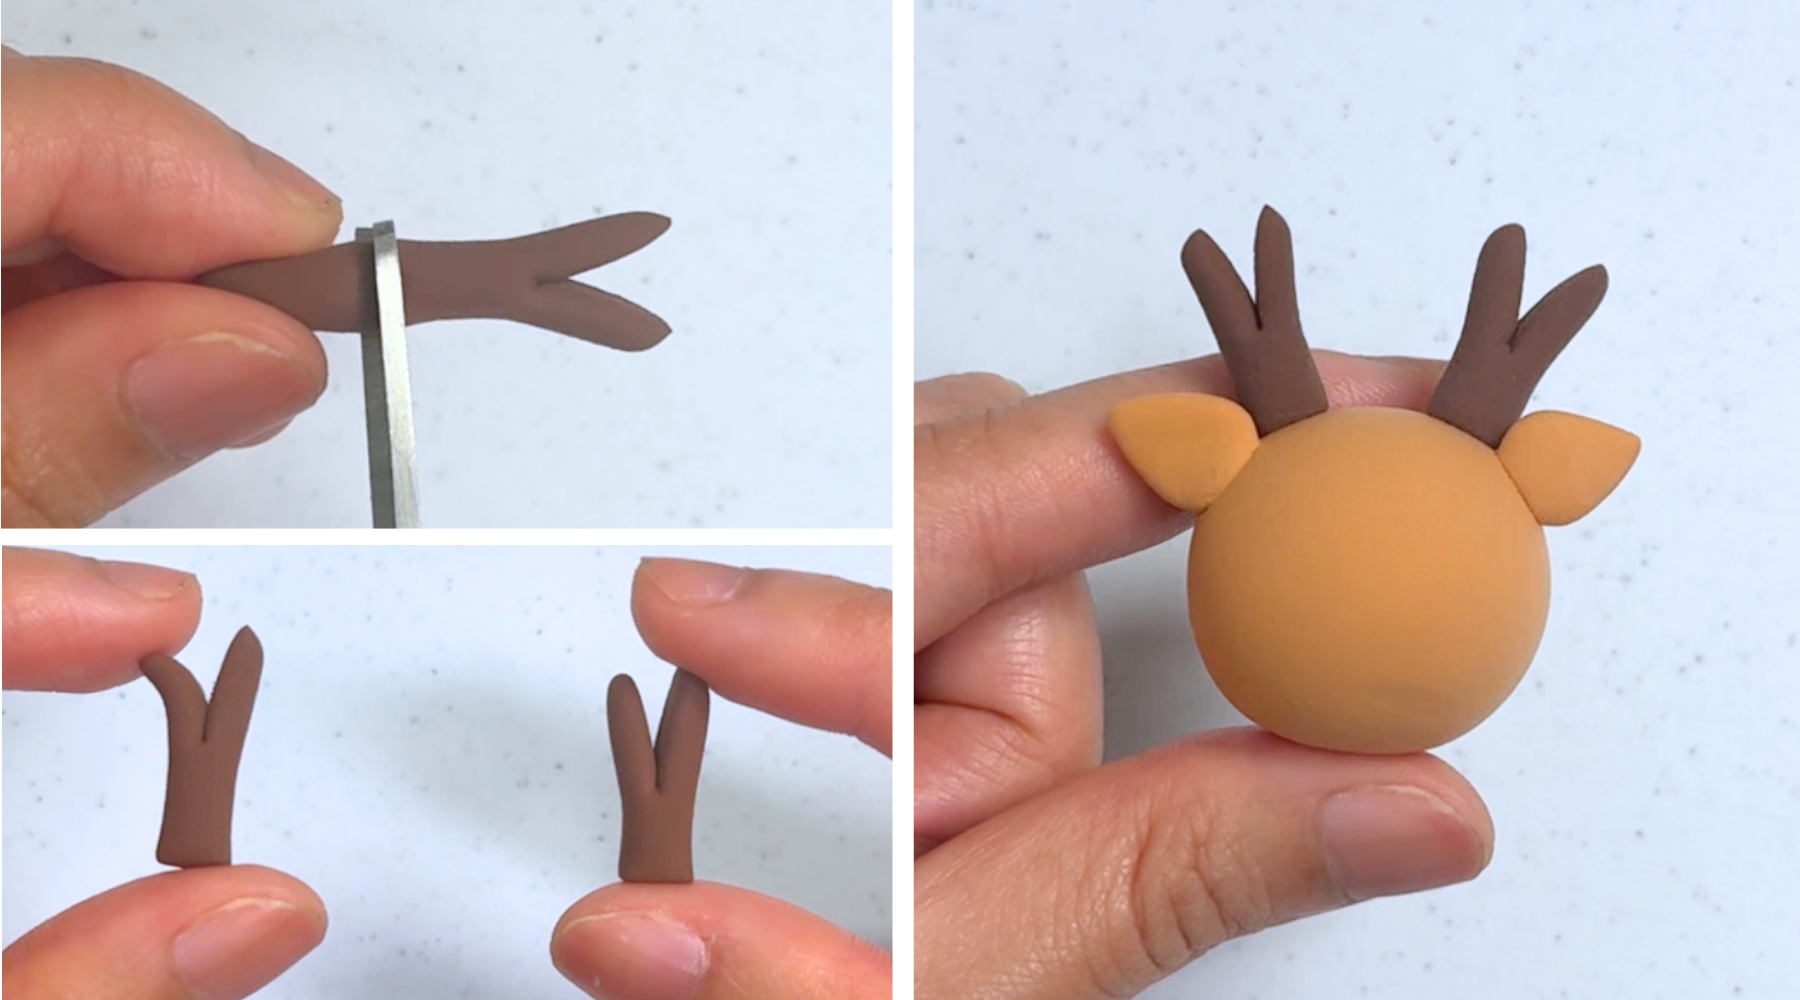
Shape the antlers using the dark brown clay. Roll two small log shapes. Cut the top of each log vertically.
Step 5
Step 4
Trim the bottom of each antler. Attach two antlers on the top of the head.
Step 6
Step 5
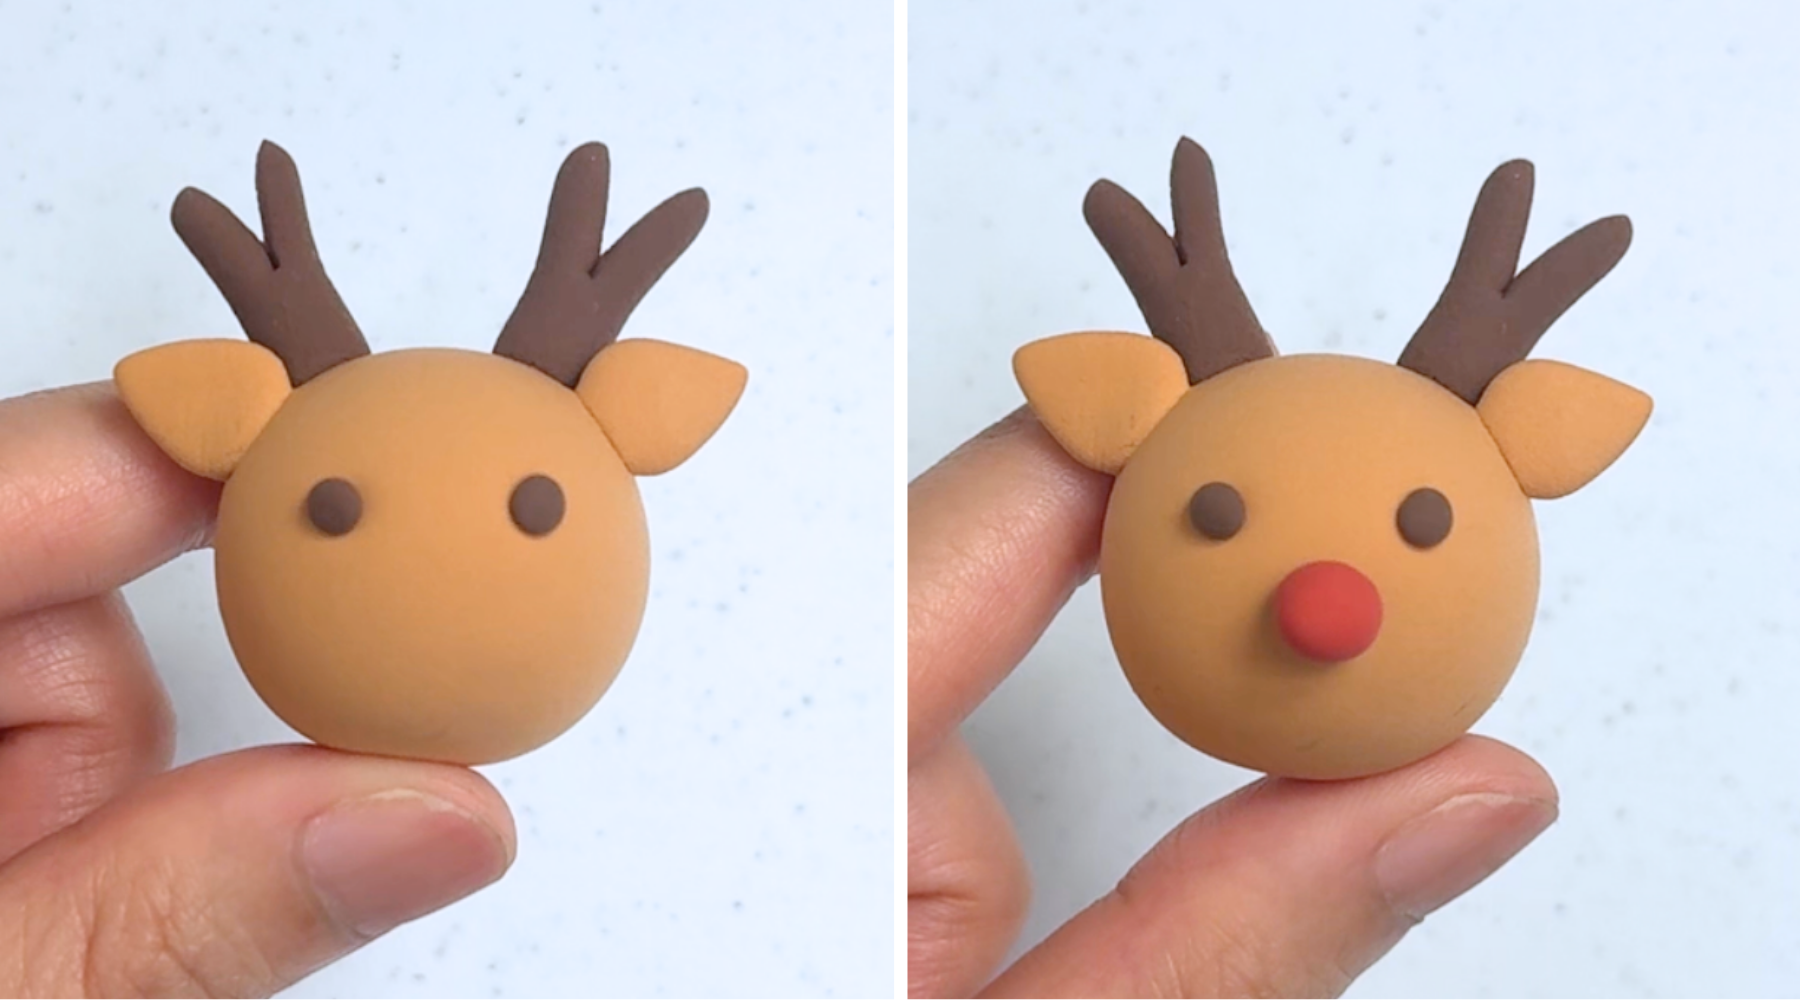
Shape two small balls using the dark brown clay to make the eyes. Attach them on the upper part of the head. Shape a bigger ball using the red clay to make the nose. Attach it on the center of the front of the face.
Step 7
Step 6
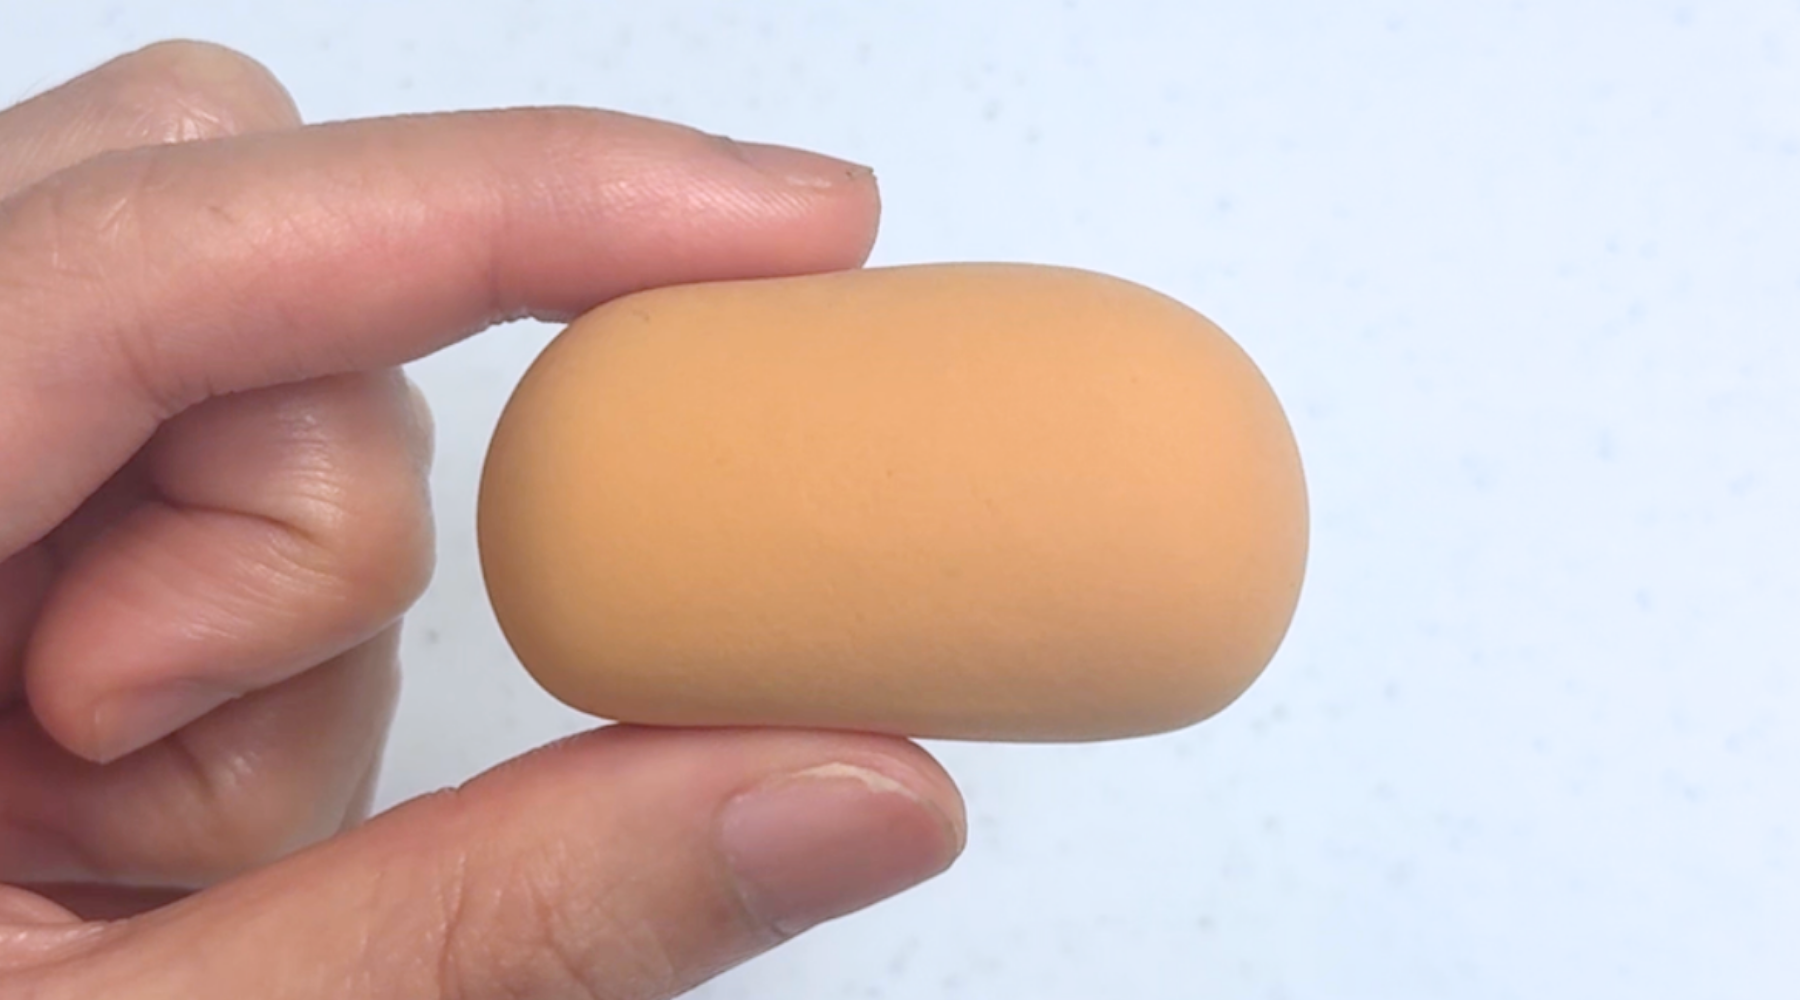
Roll a short log shape using the beige clay to make the body.
Step 8
Step 7
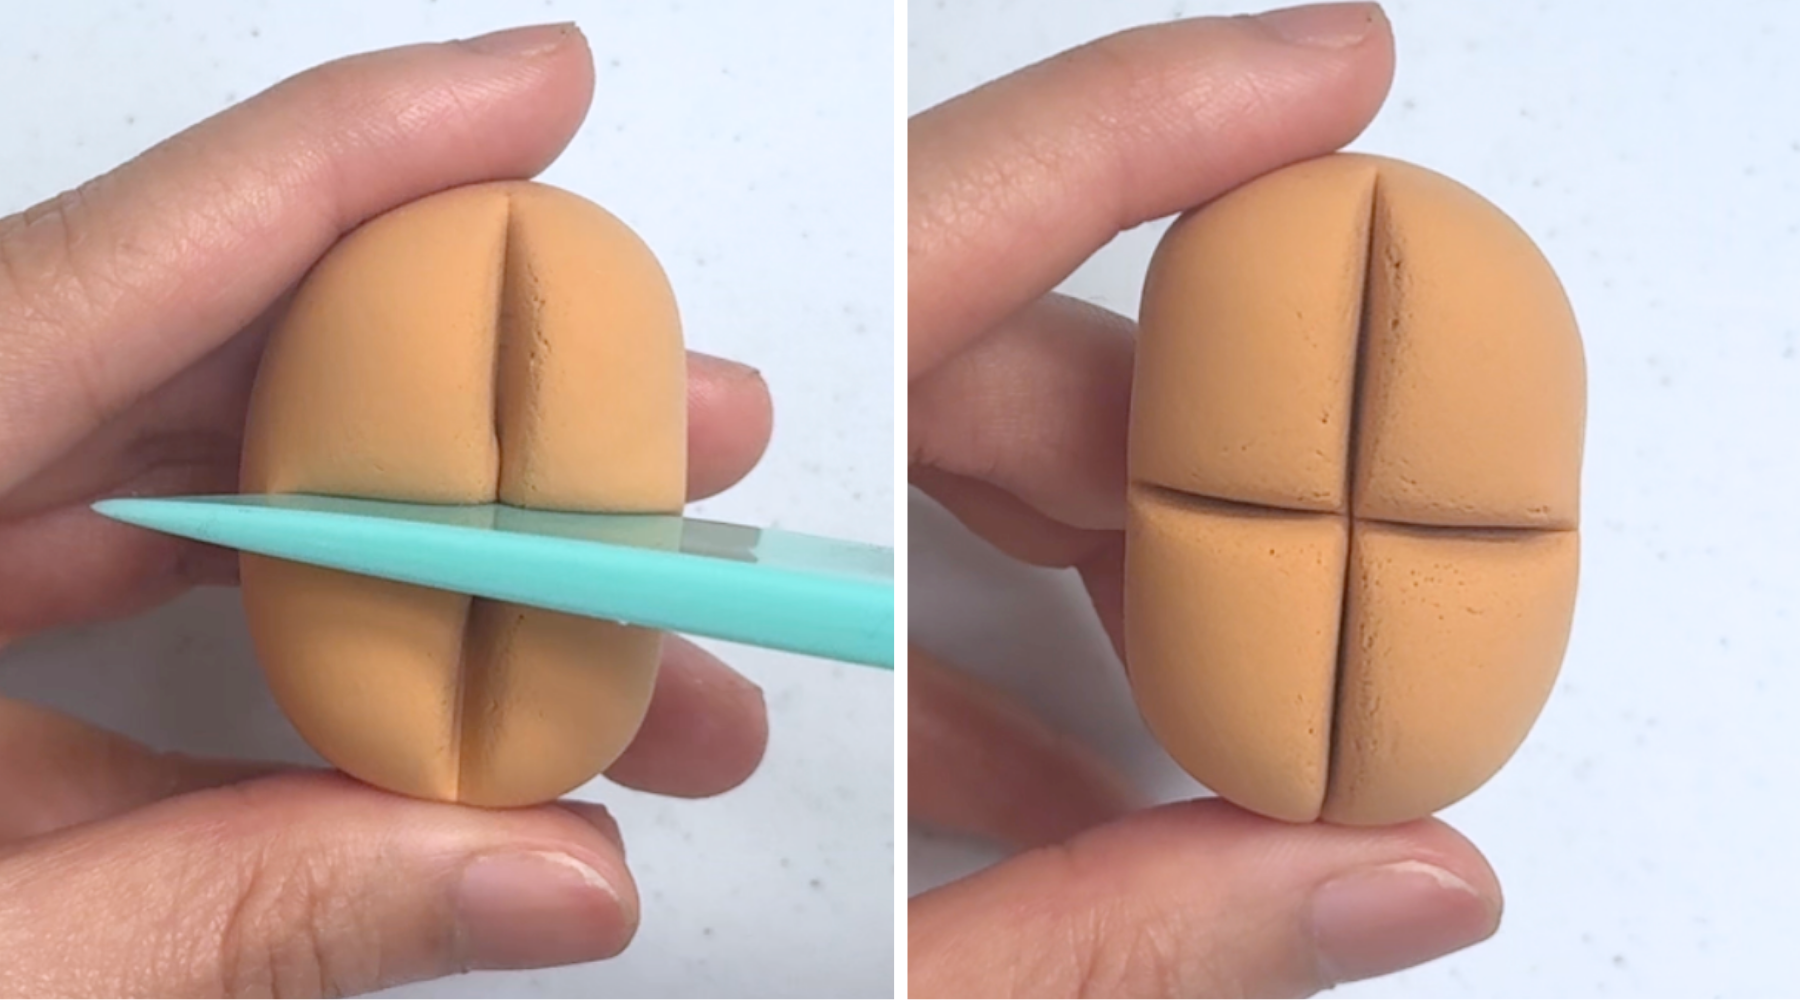
To form the reindeer’s legs, use the knife tool from the 3pcs tools set to cut a deep cross-shaped crease into the underside of the log.
Step 9
Step 8
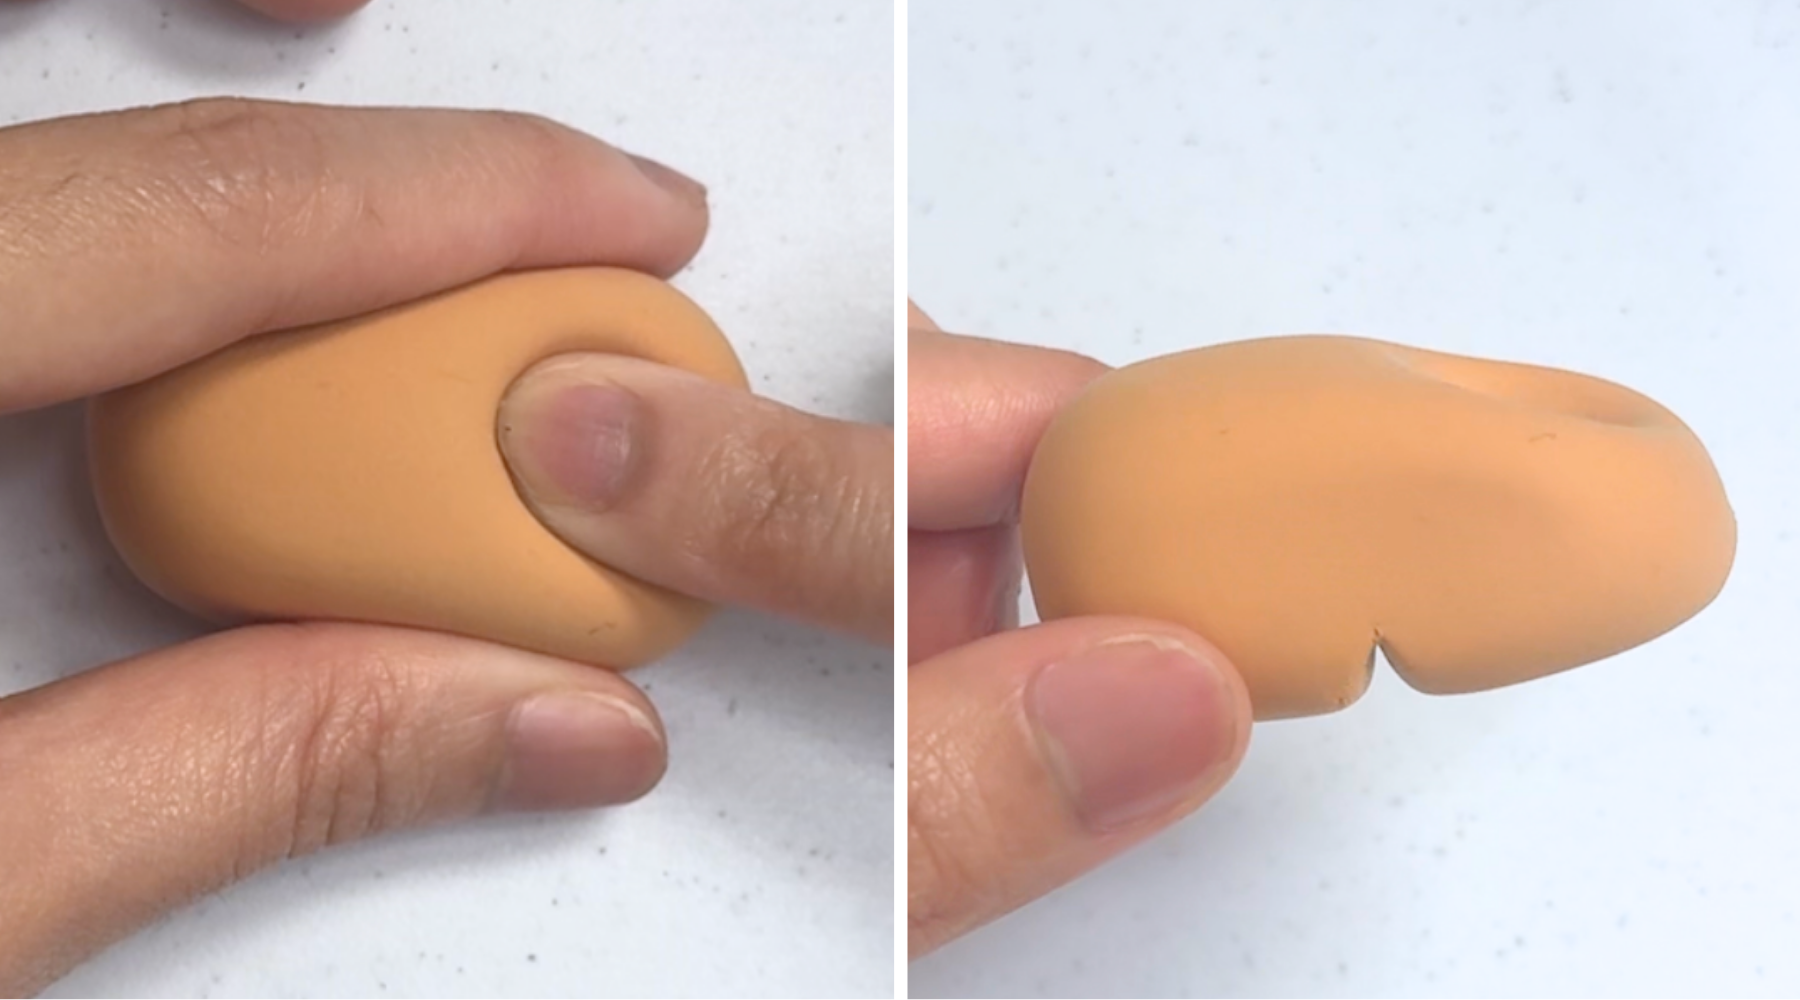
Make a dent at the top of the log where the head will be placed.
Step 10
Step 9
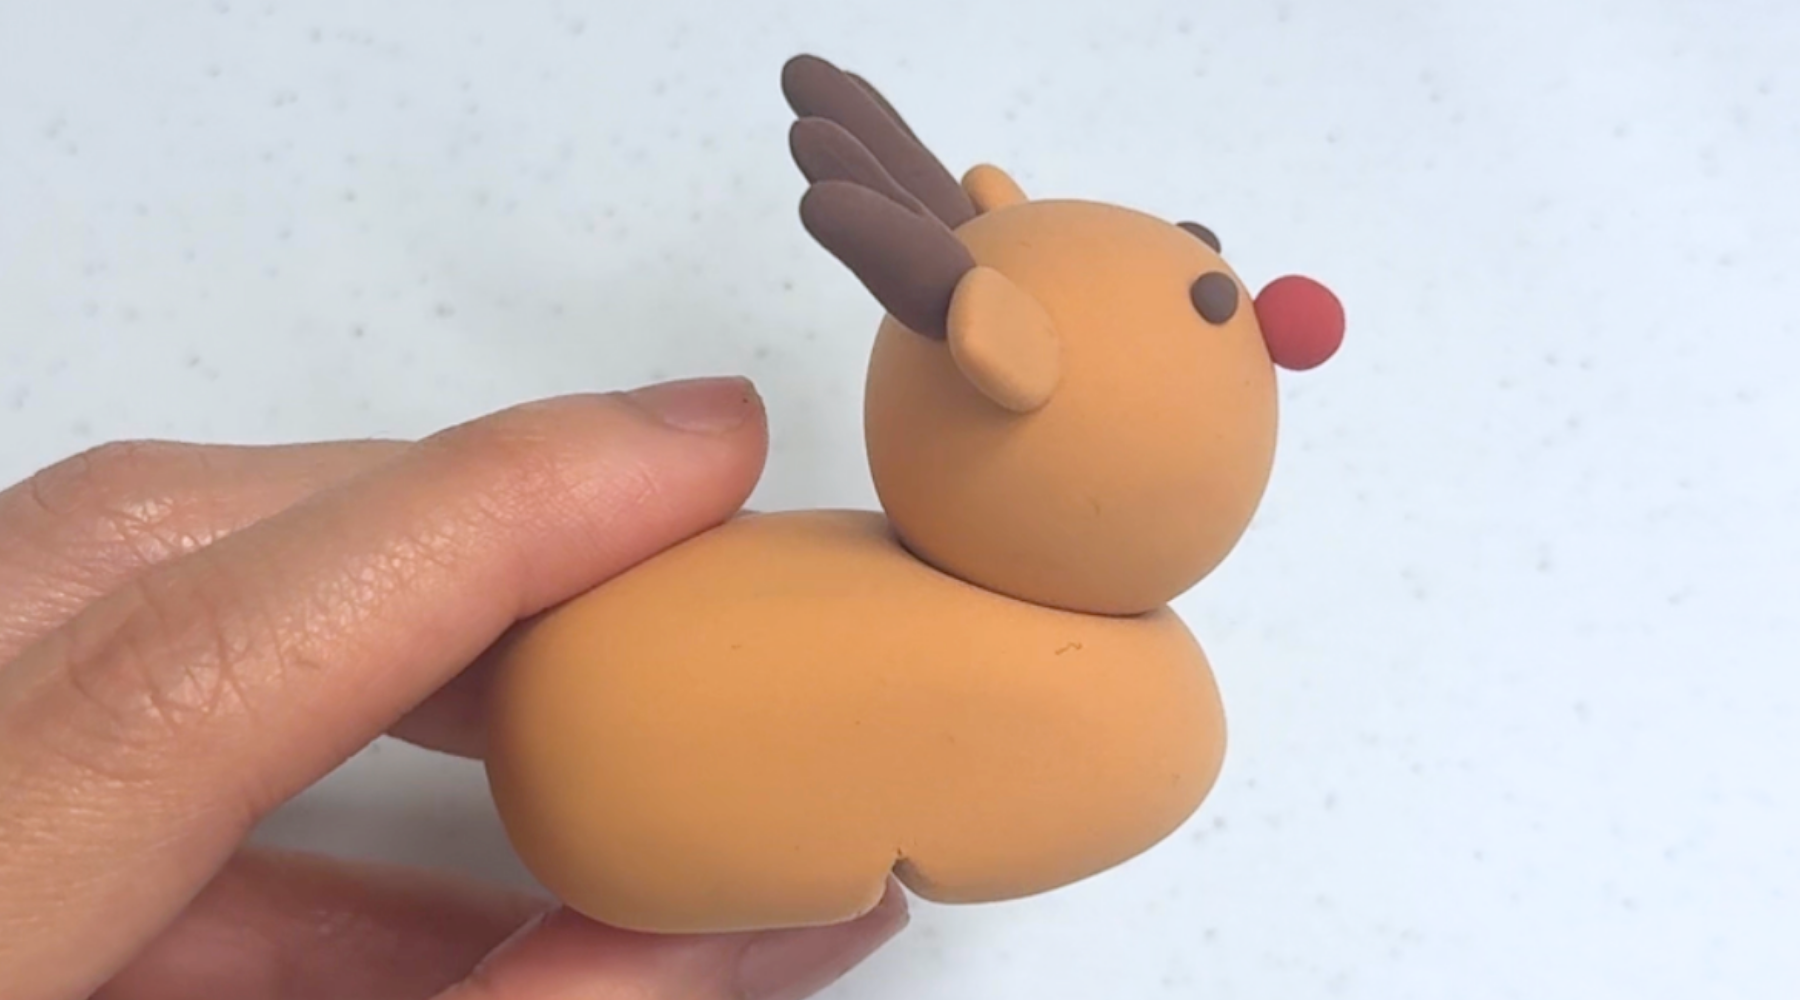
Attach the head on the dent.
Step 11
Step 10
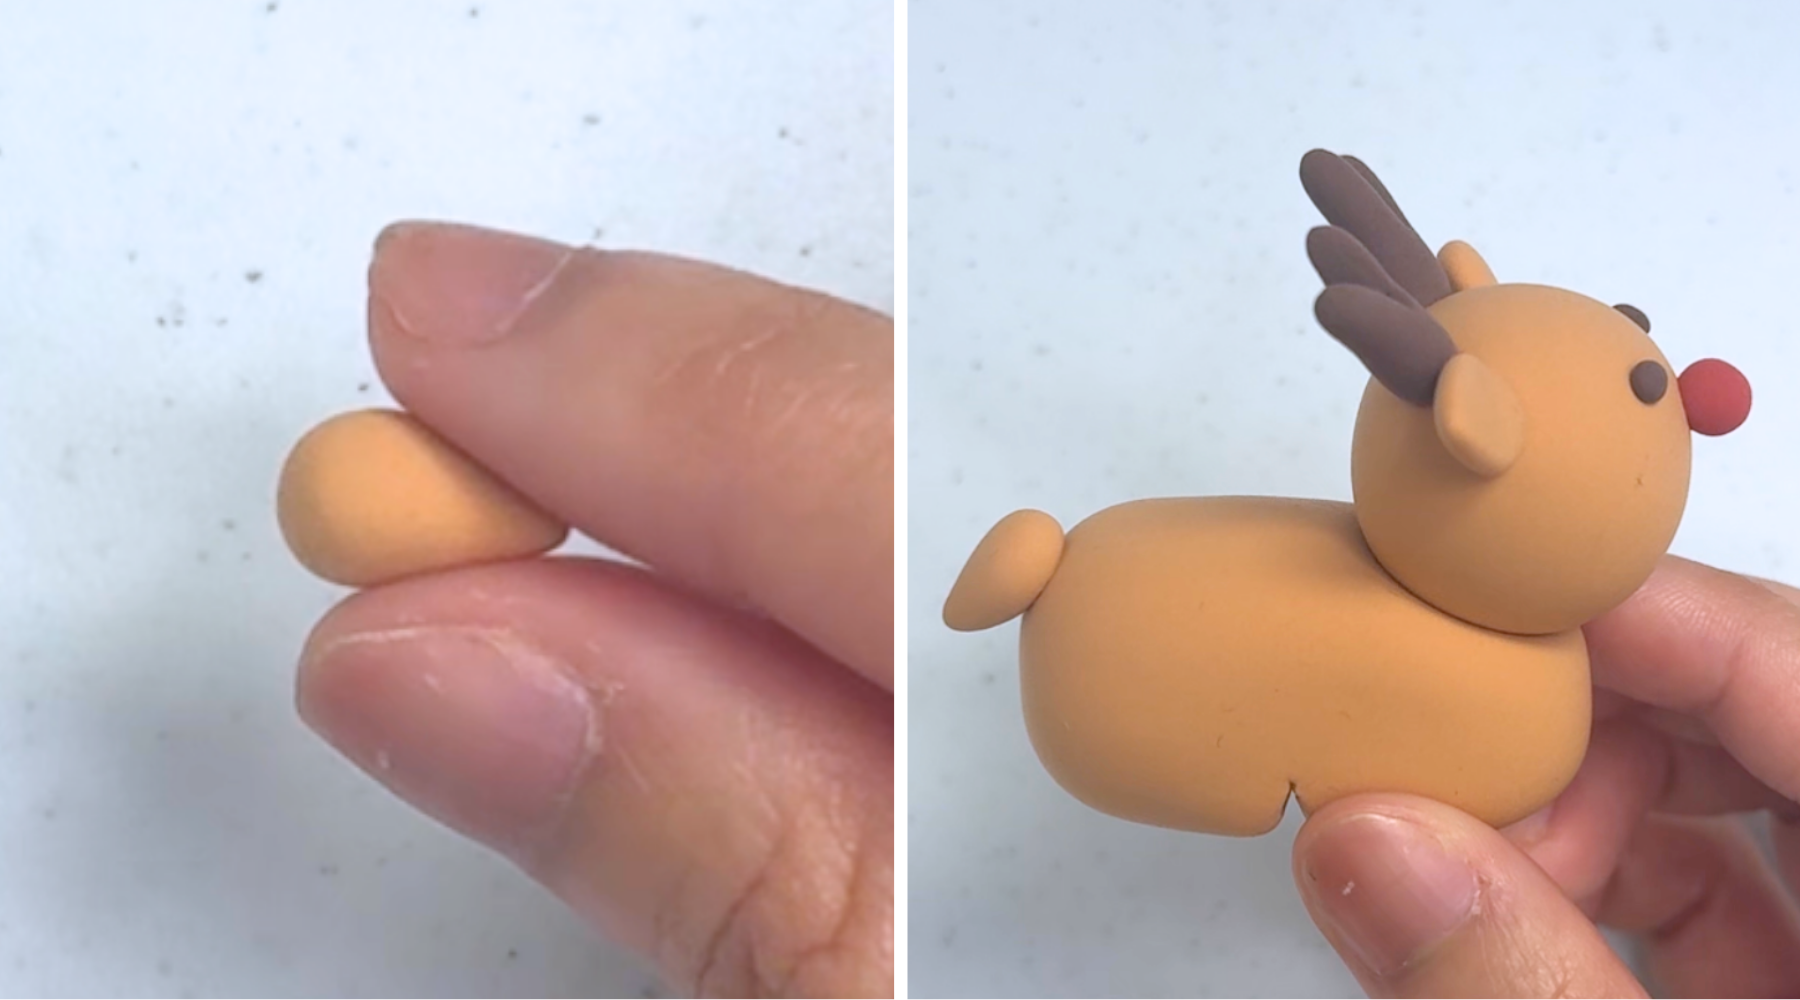
Shape the tail using the light brown clay. Make a small tear drop shape. Attach it at the tail end of the reindeer, with the wider side touching the body.
Step 12
Step 11
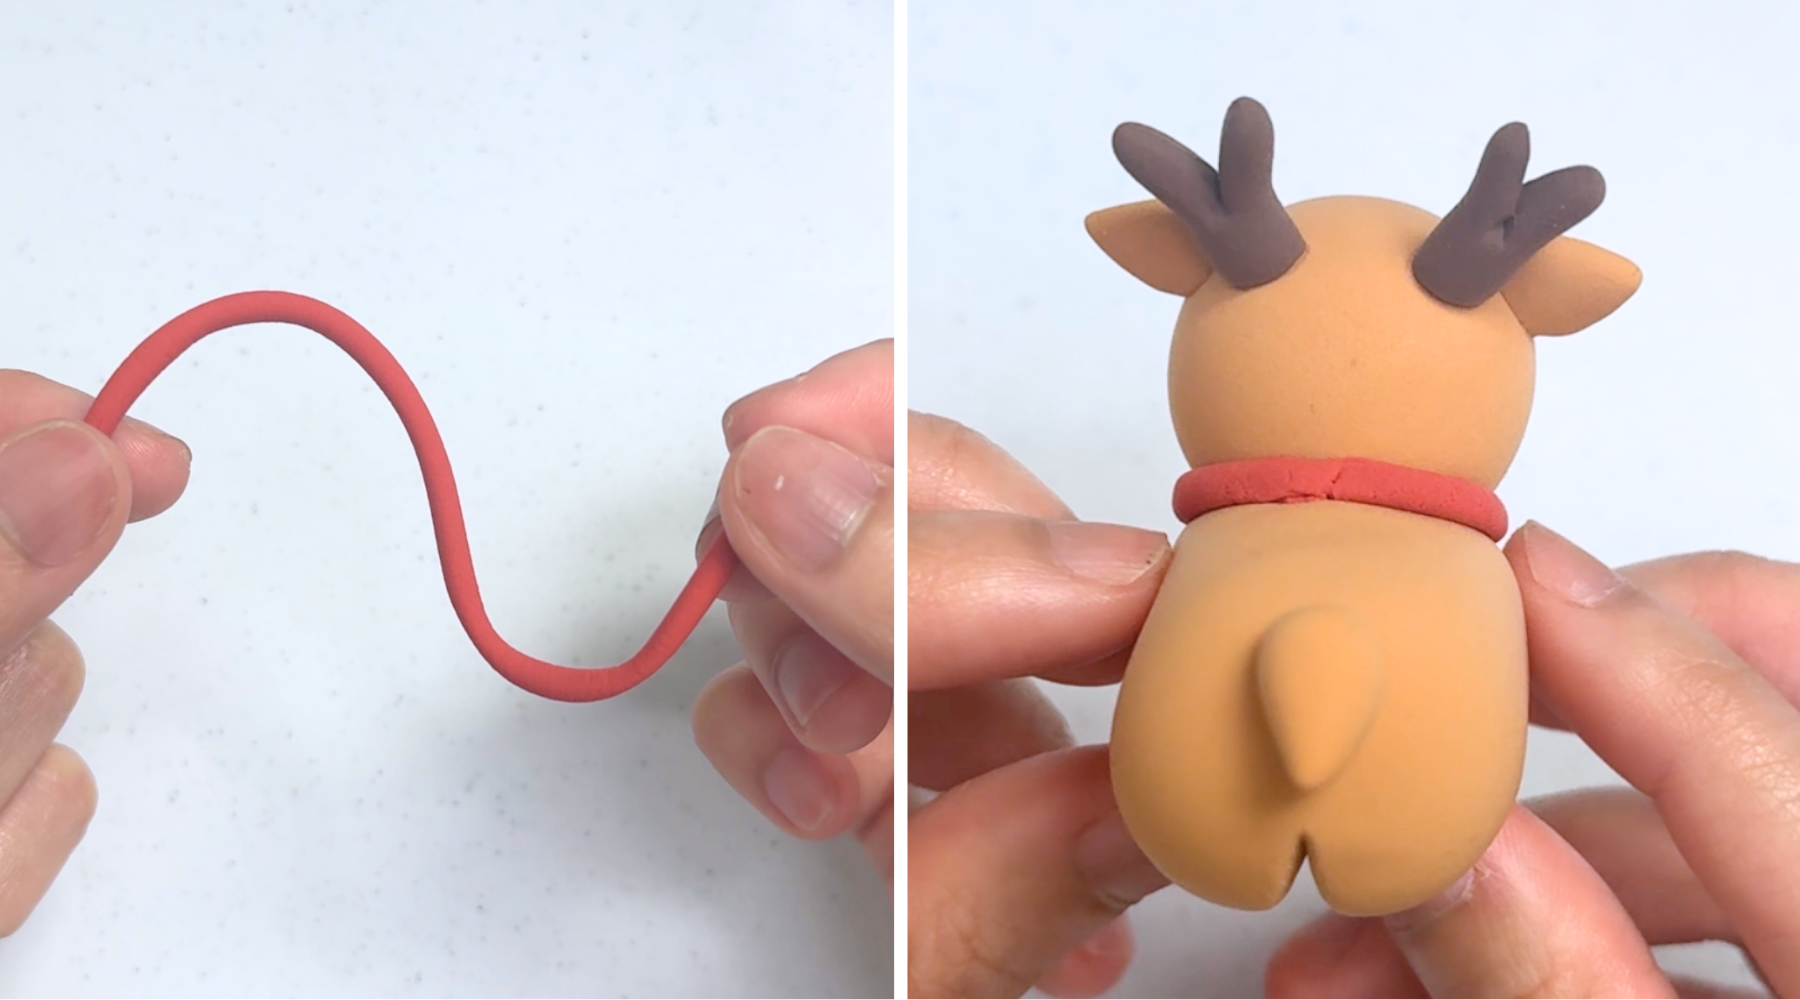
Make the collar using the red clay. Roll a small piece into a thin string. Wrap it around the back of the neck, starting from the back of the head.
Step 13
Step 12
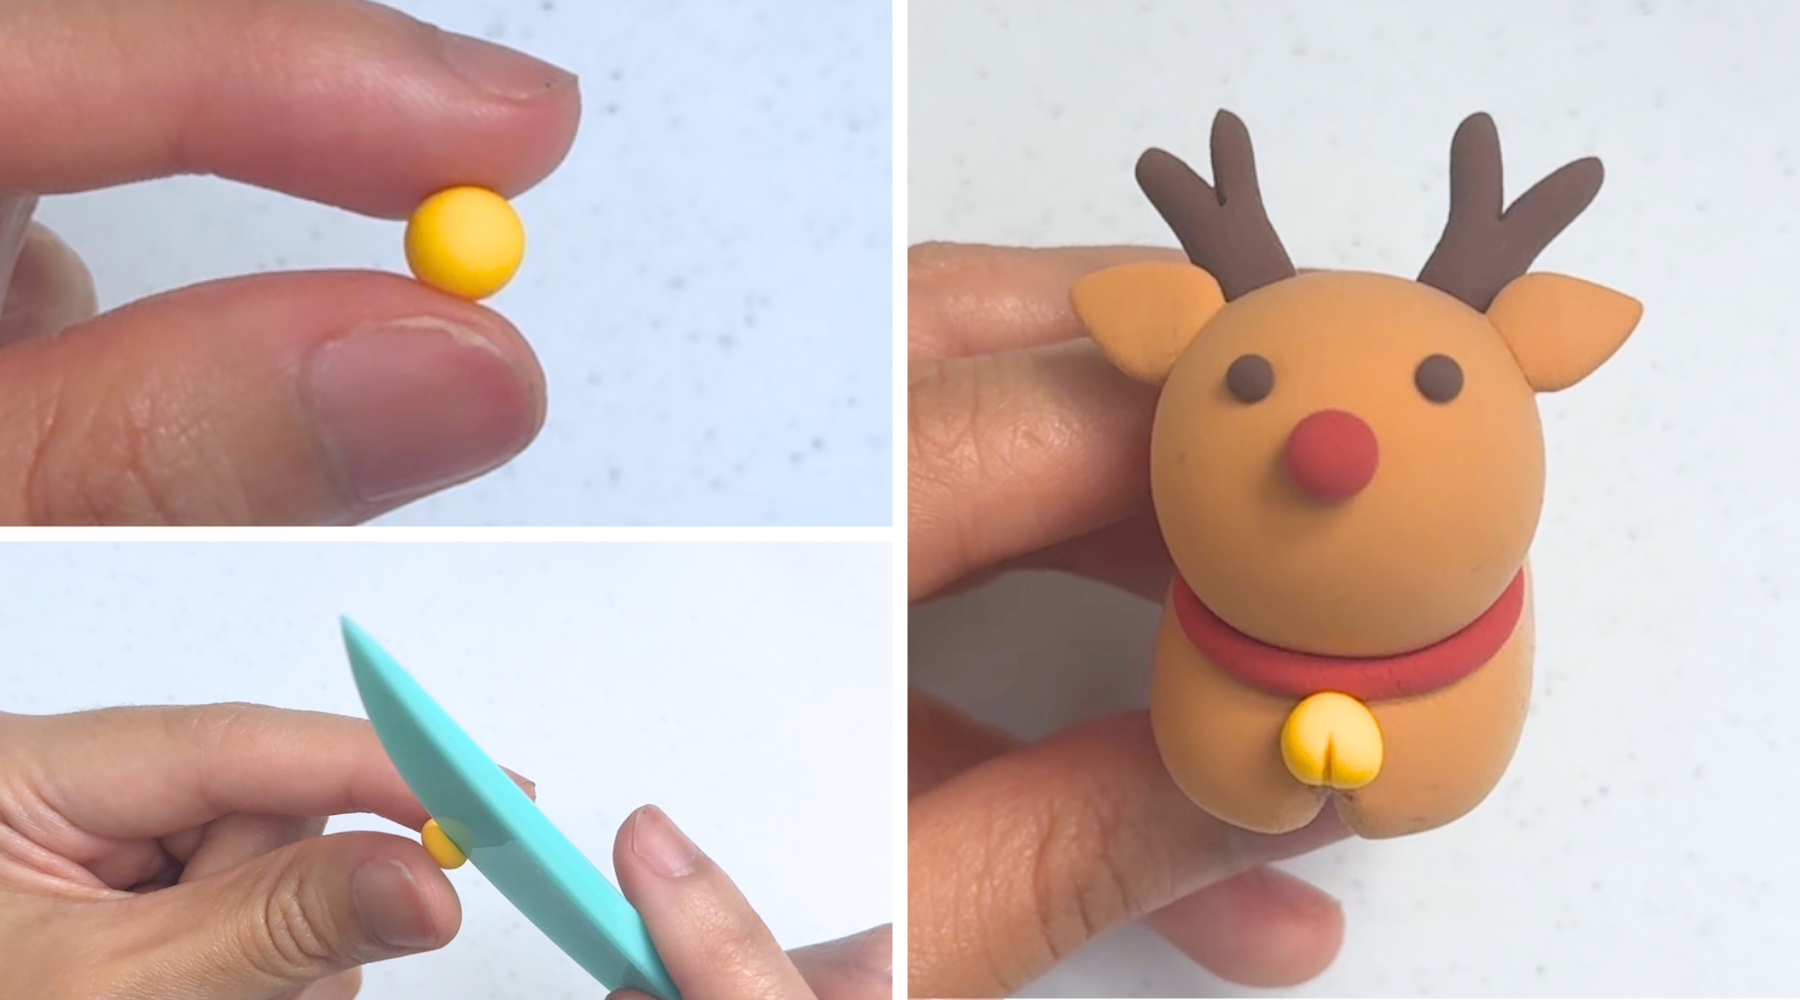
Make the bell using the yellow clay. Roll a small ball and use the knife tool to create a crease. Attach it at the front of the collar.