

It's a Wrap
It's a Wrap tutorial
Advanced19 steps
It's a Wrap
Advanced · 19 Steps
Step 1
Step 0
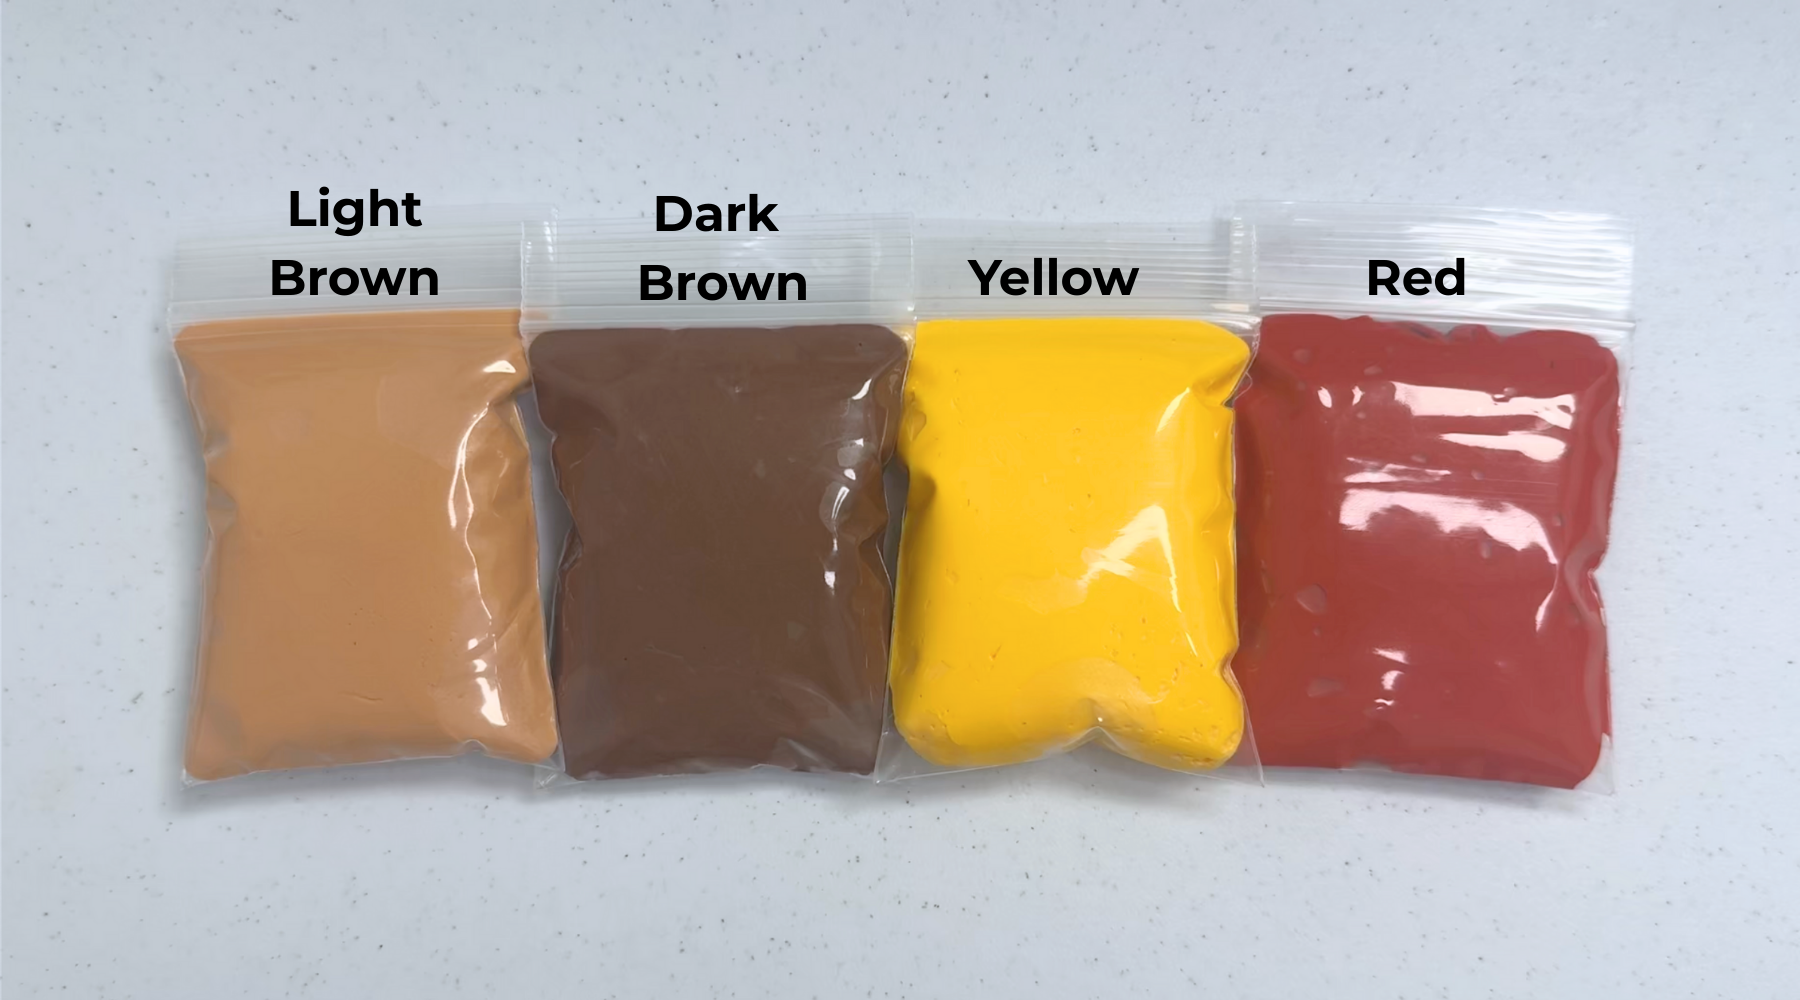
Identify the colors
Step 2
Step 1
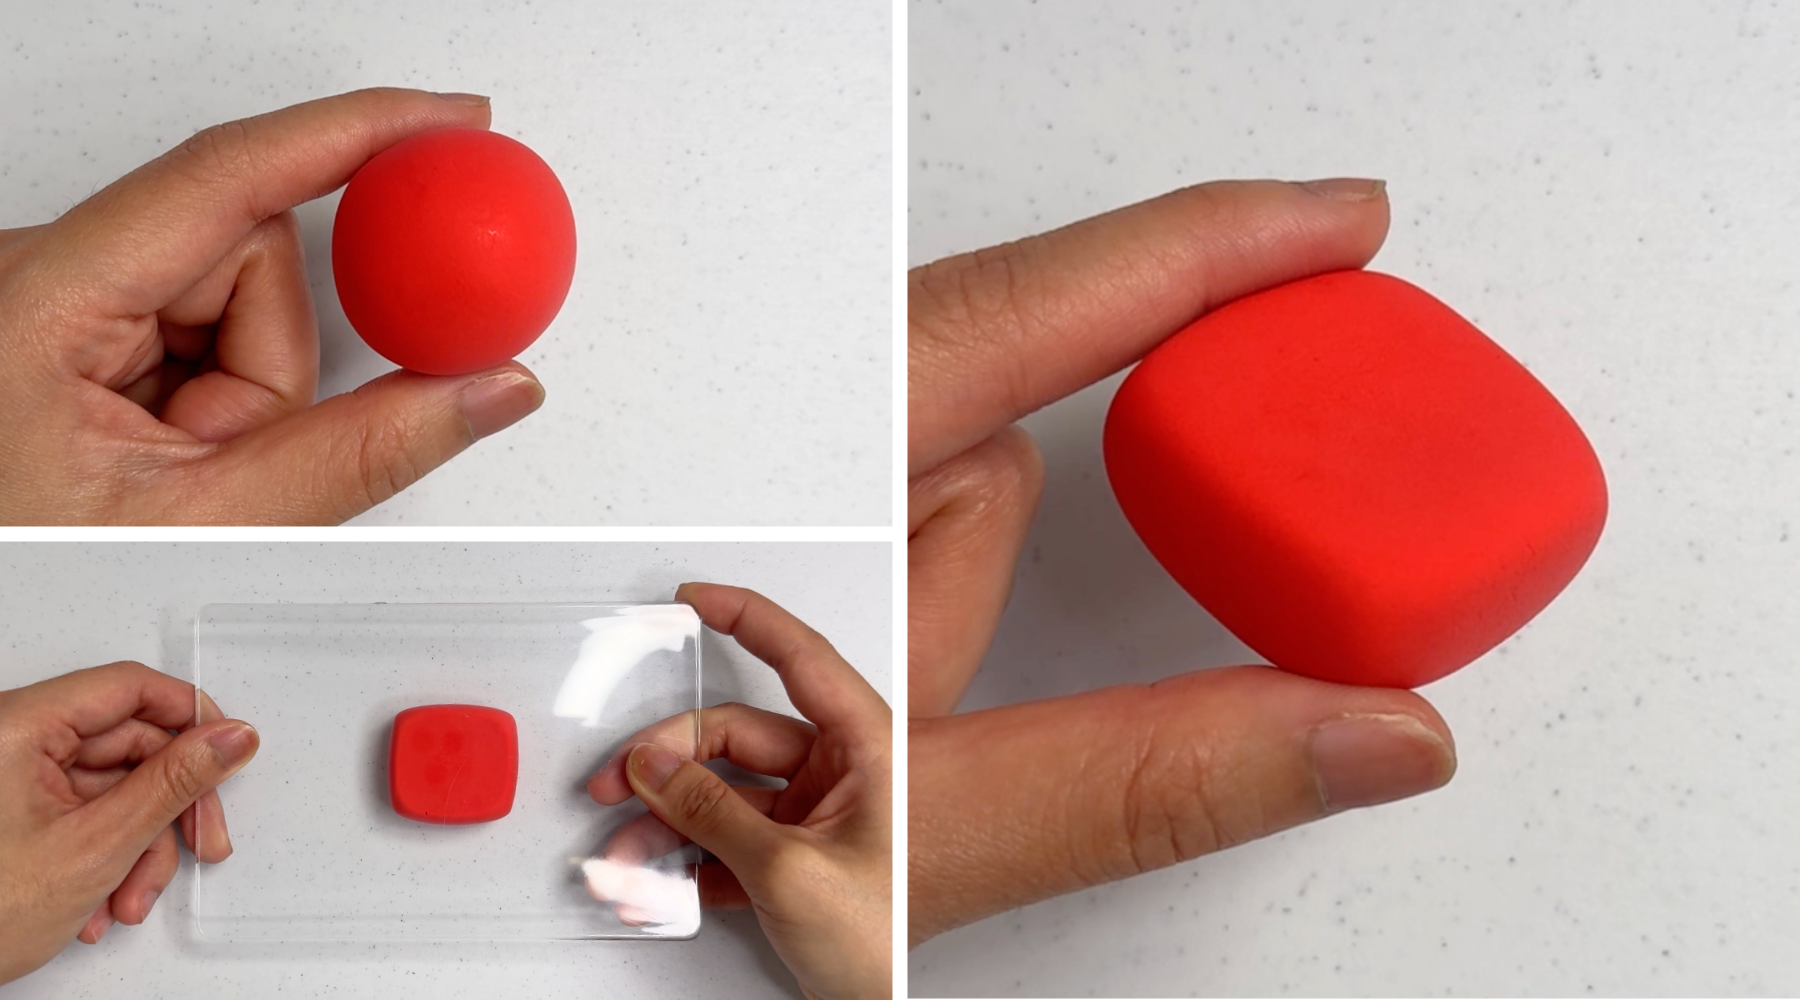
To make the red gift, shape a rectangular prism using the red clay. Flatten the sides with the acrylic board.
💡 Stretch and knead the clay to remove wrinkles and unevenness.
Step 3
Step 2
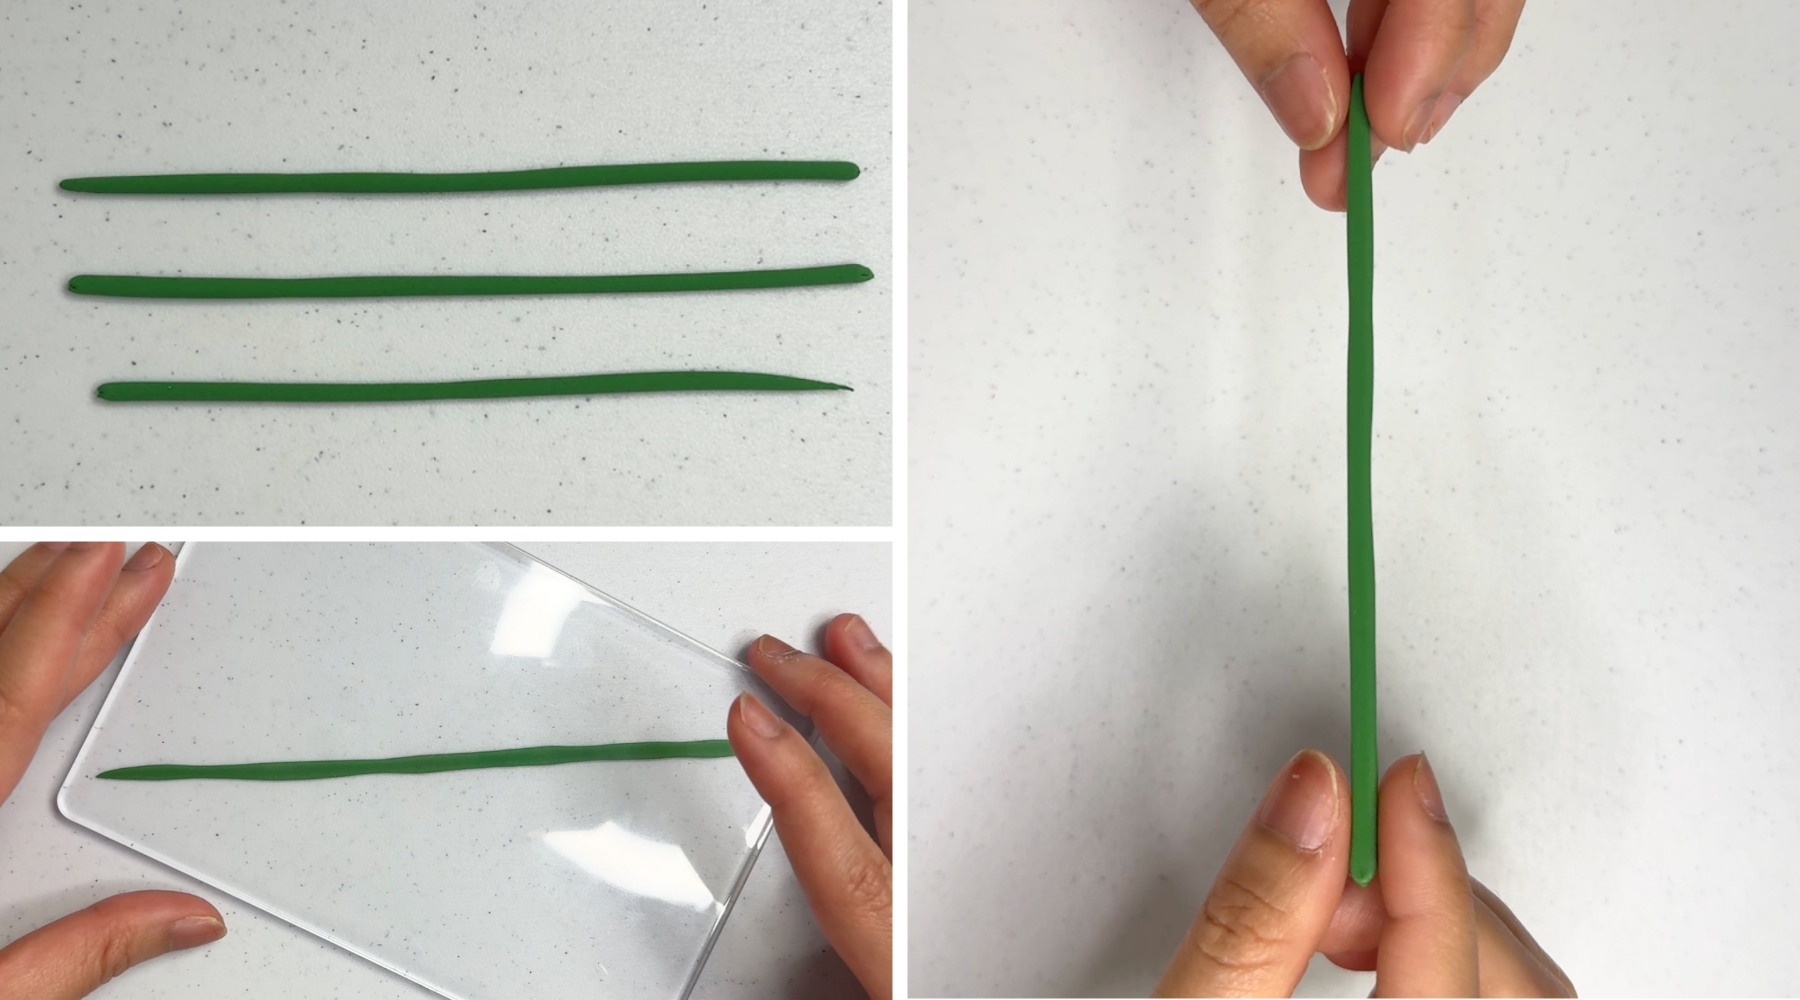
Roll 3 strings using the dark green clay. Use your palm first to roll it into a string. Then use the acrylic board to smooth the edges and flatten them.
Step 4
Step 3
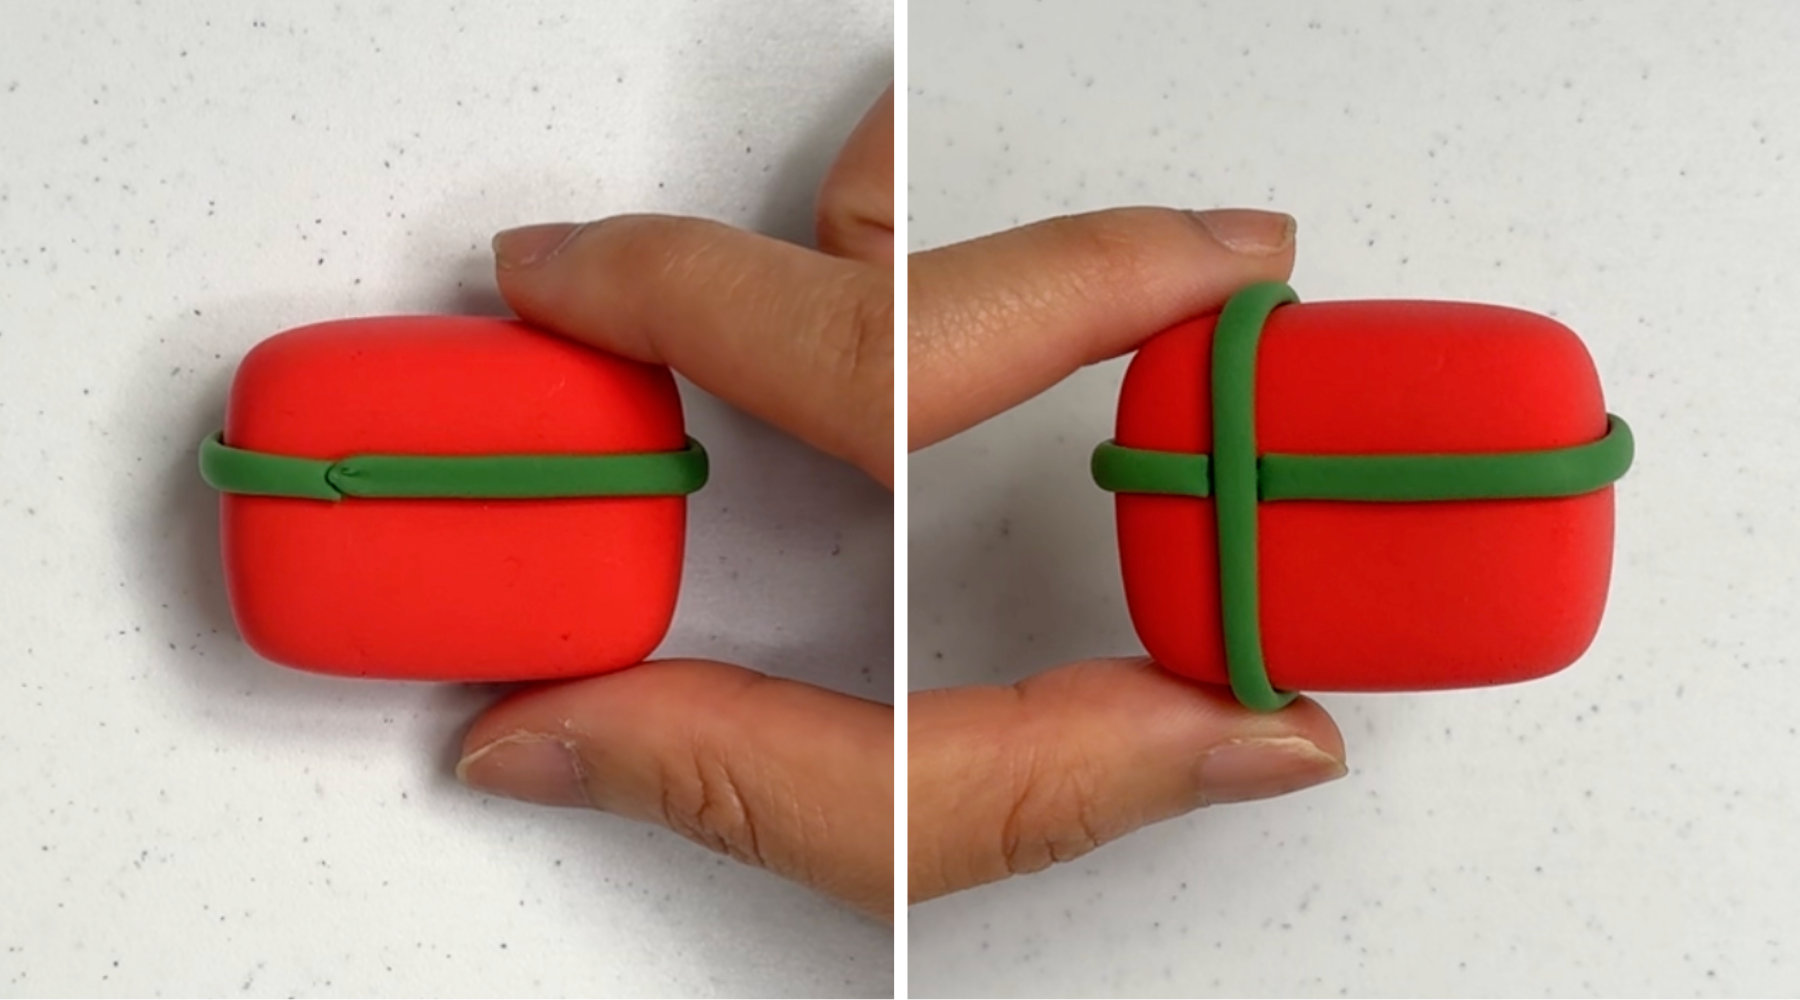
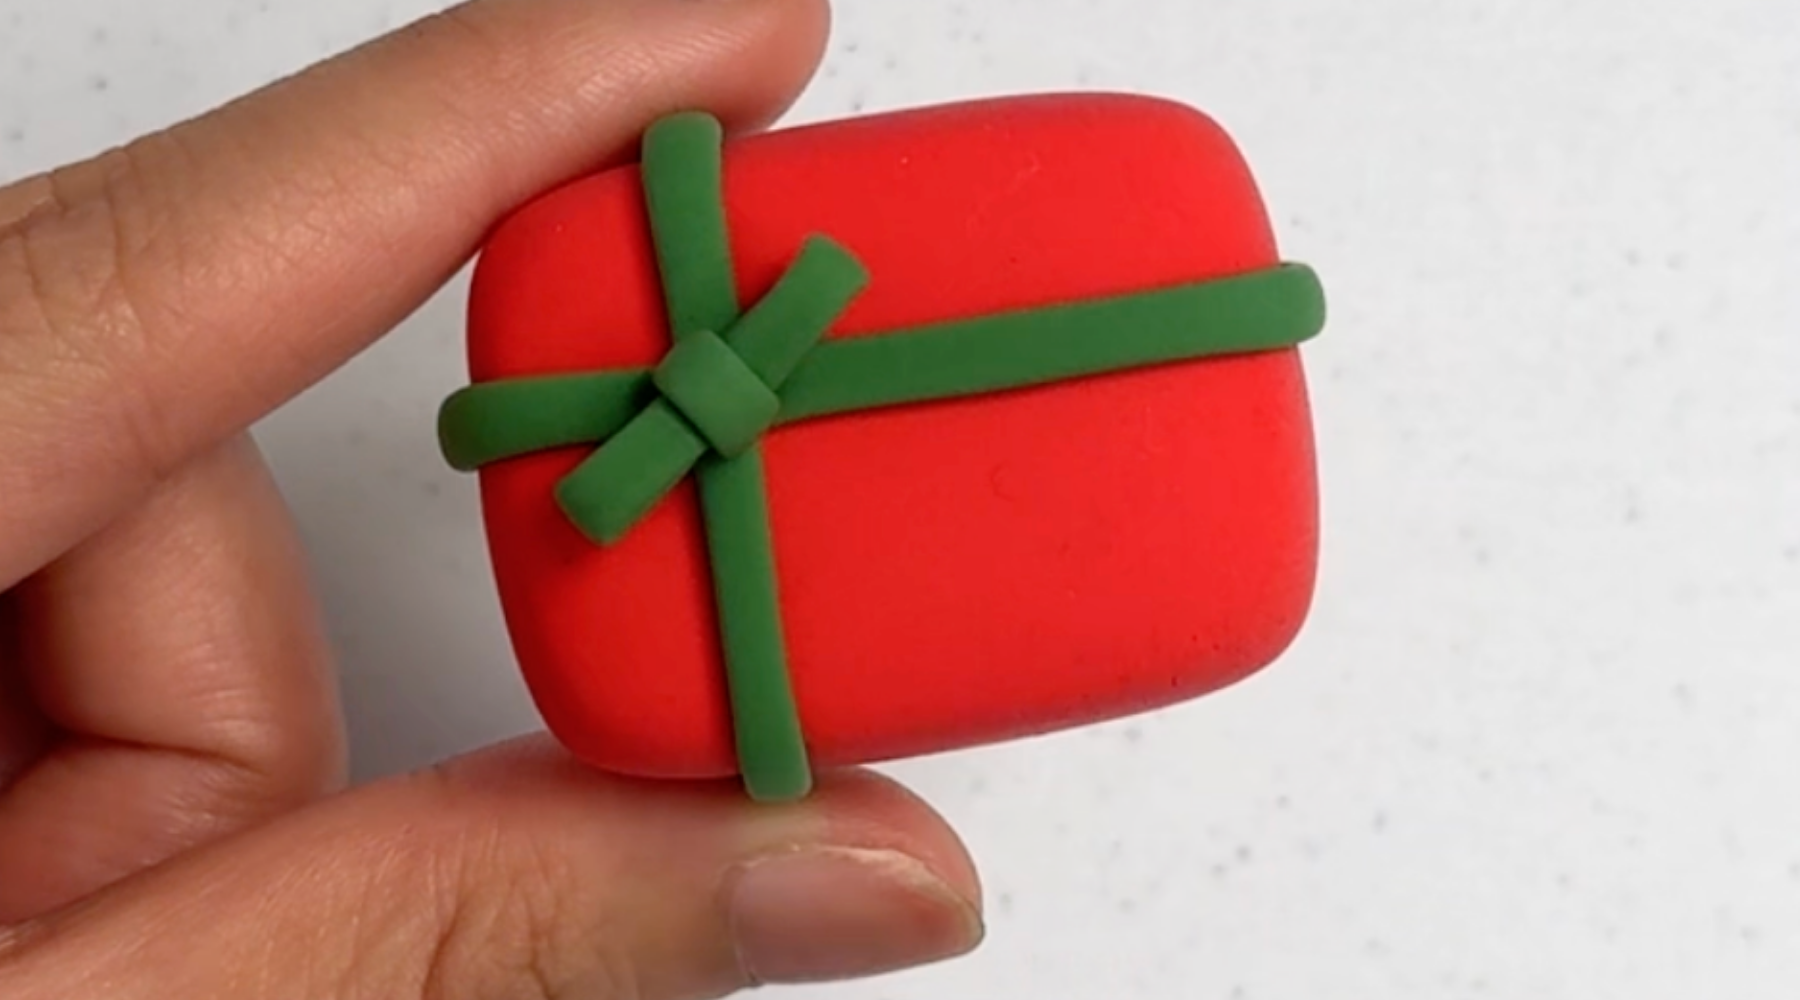
Wrap 1 flattened string horizontally around the upper part of the box. Wrap another string vertically around the left side of the box. Trim off the excess with scissors.
Step 5
Step 4
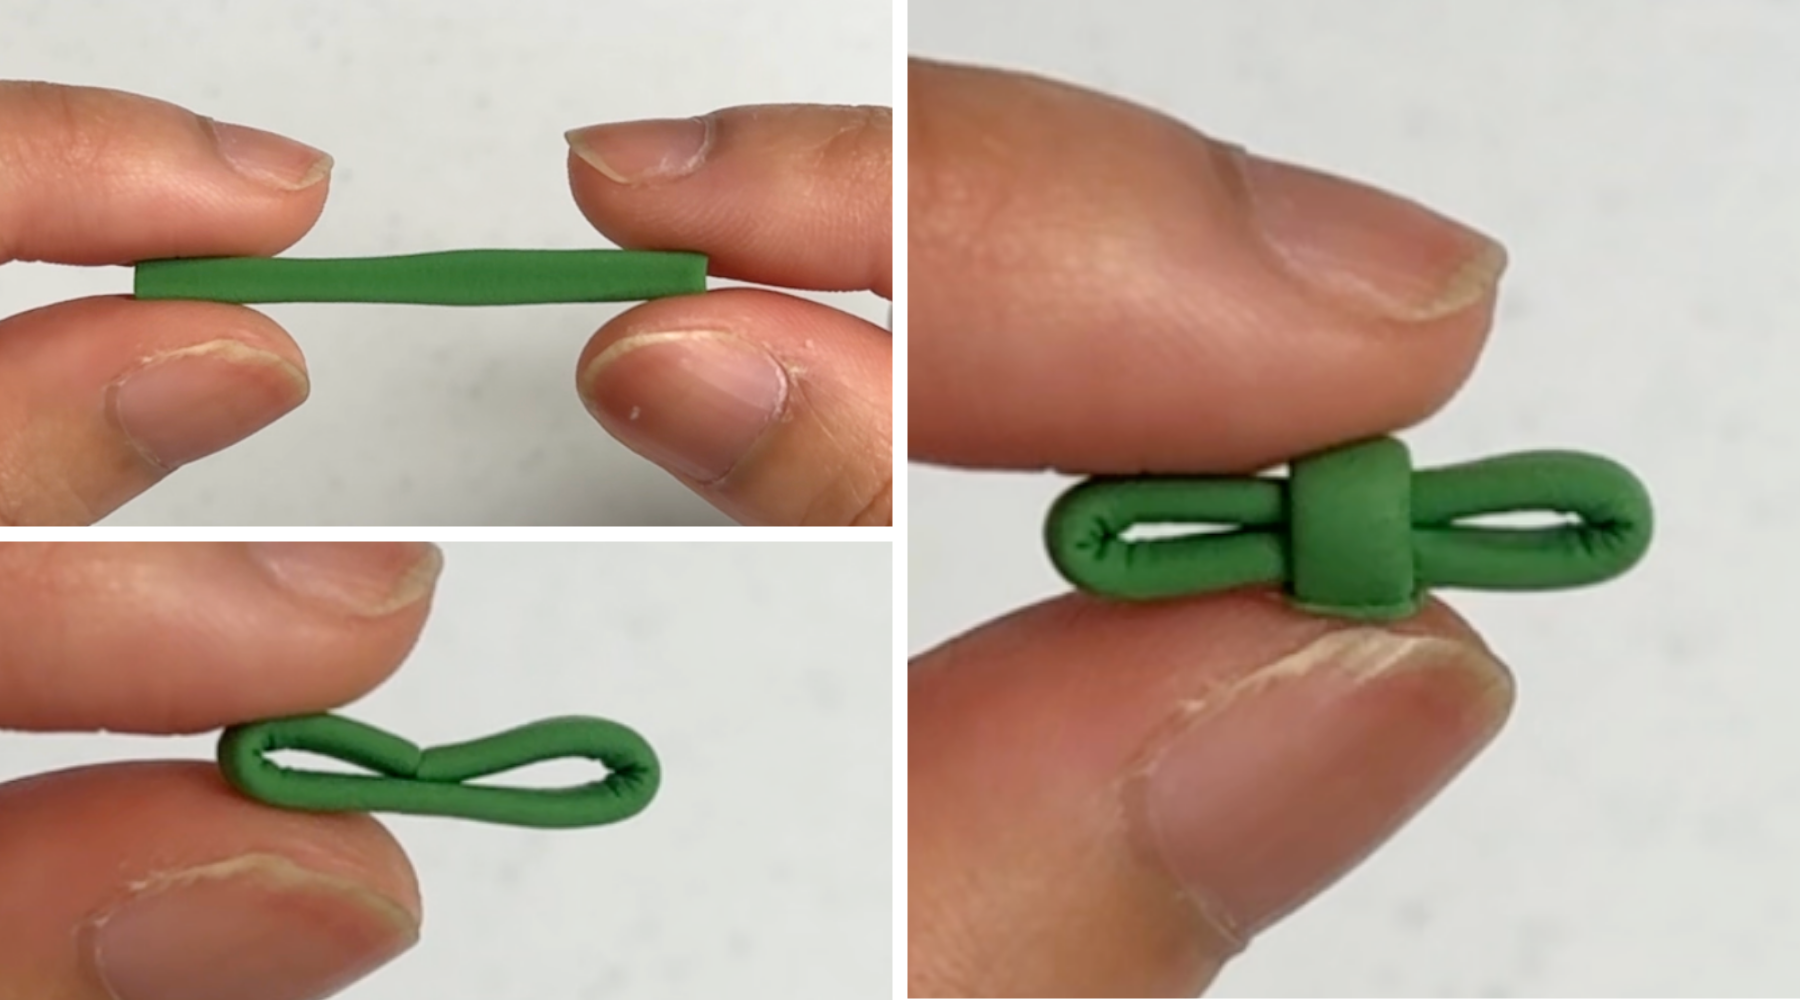
With the 3rd string, cut a length long enough to fold the ends to the center to make a ribbon. Use the extra part as the knot by wrapping it at the center where the 2 ends meet, and trim excess clay off.
Step 6
Step 5
Attach the ribbon at the intersection of the 2 strings.
Step 7
Step 6
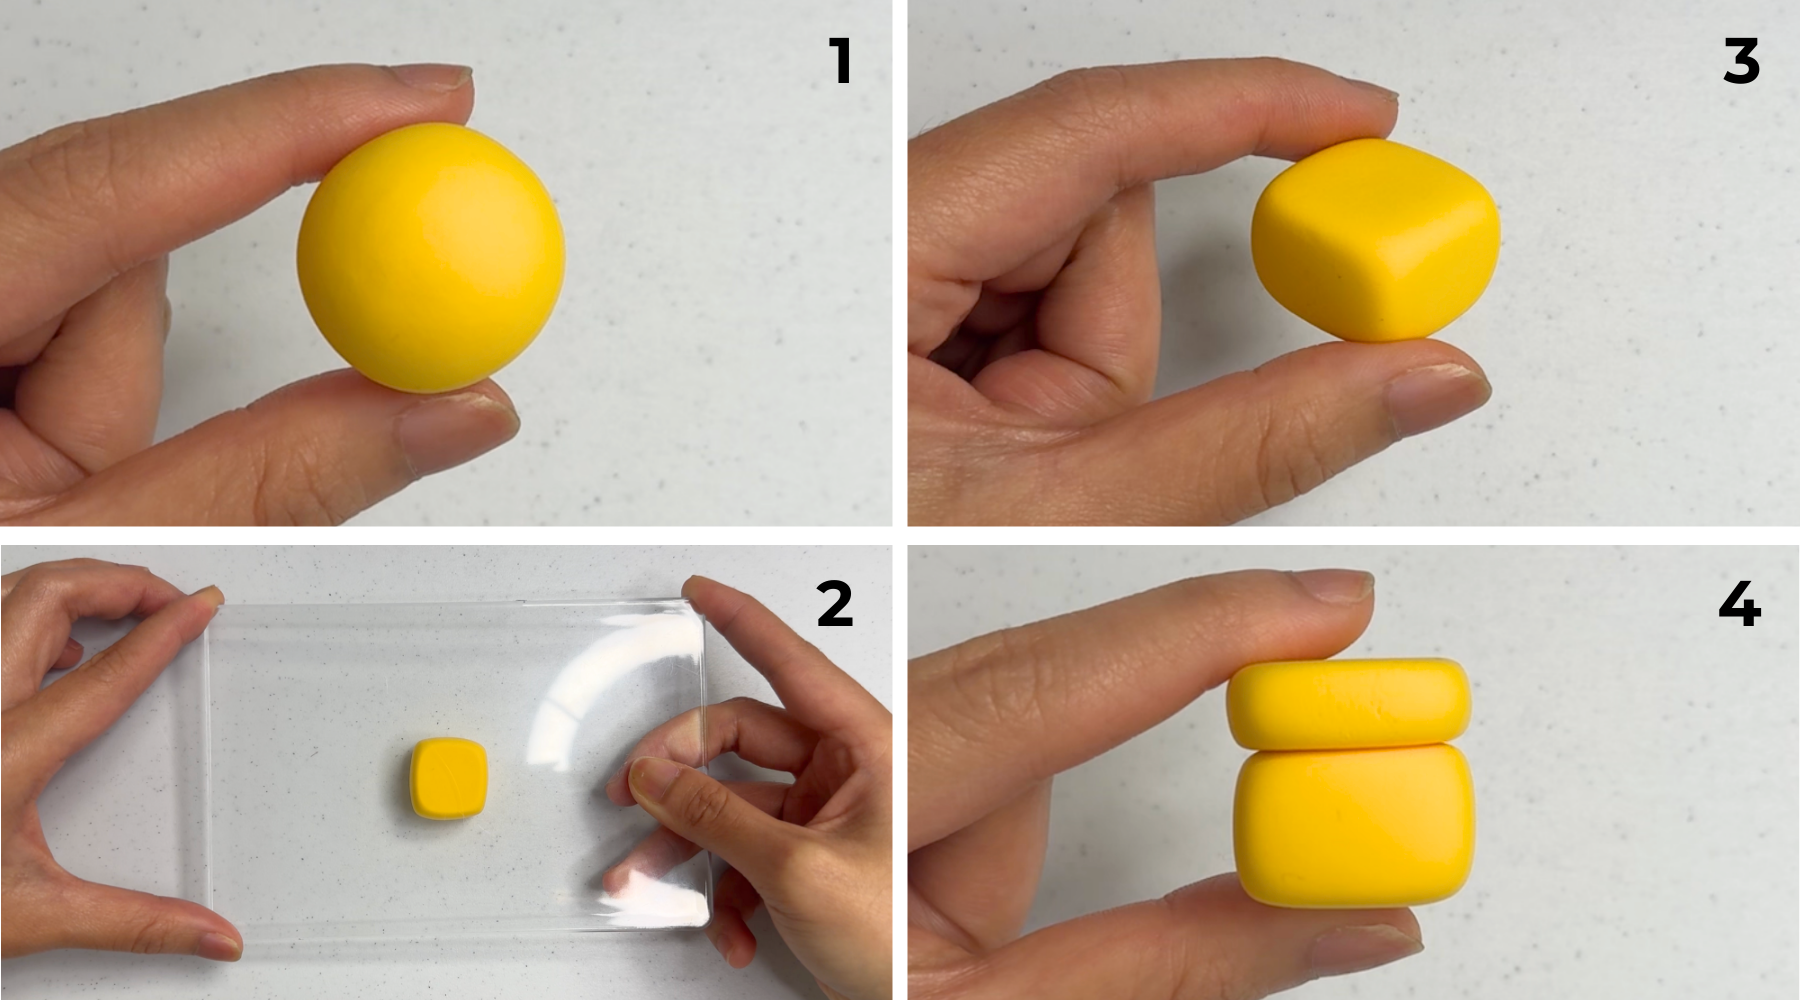
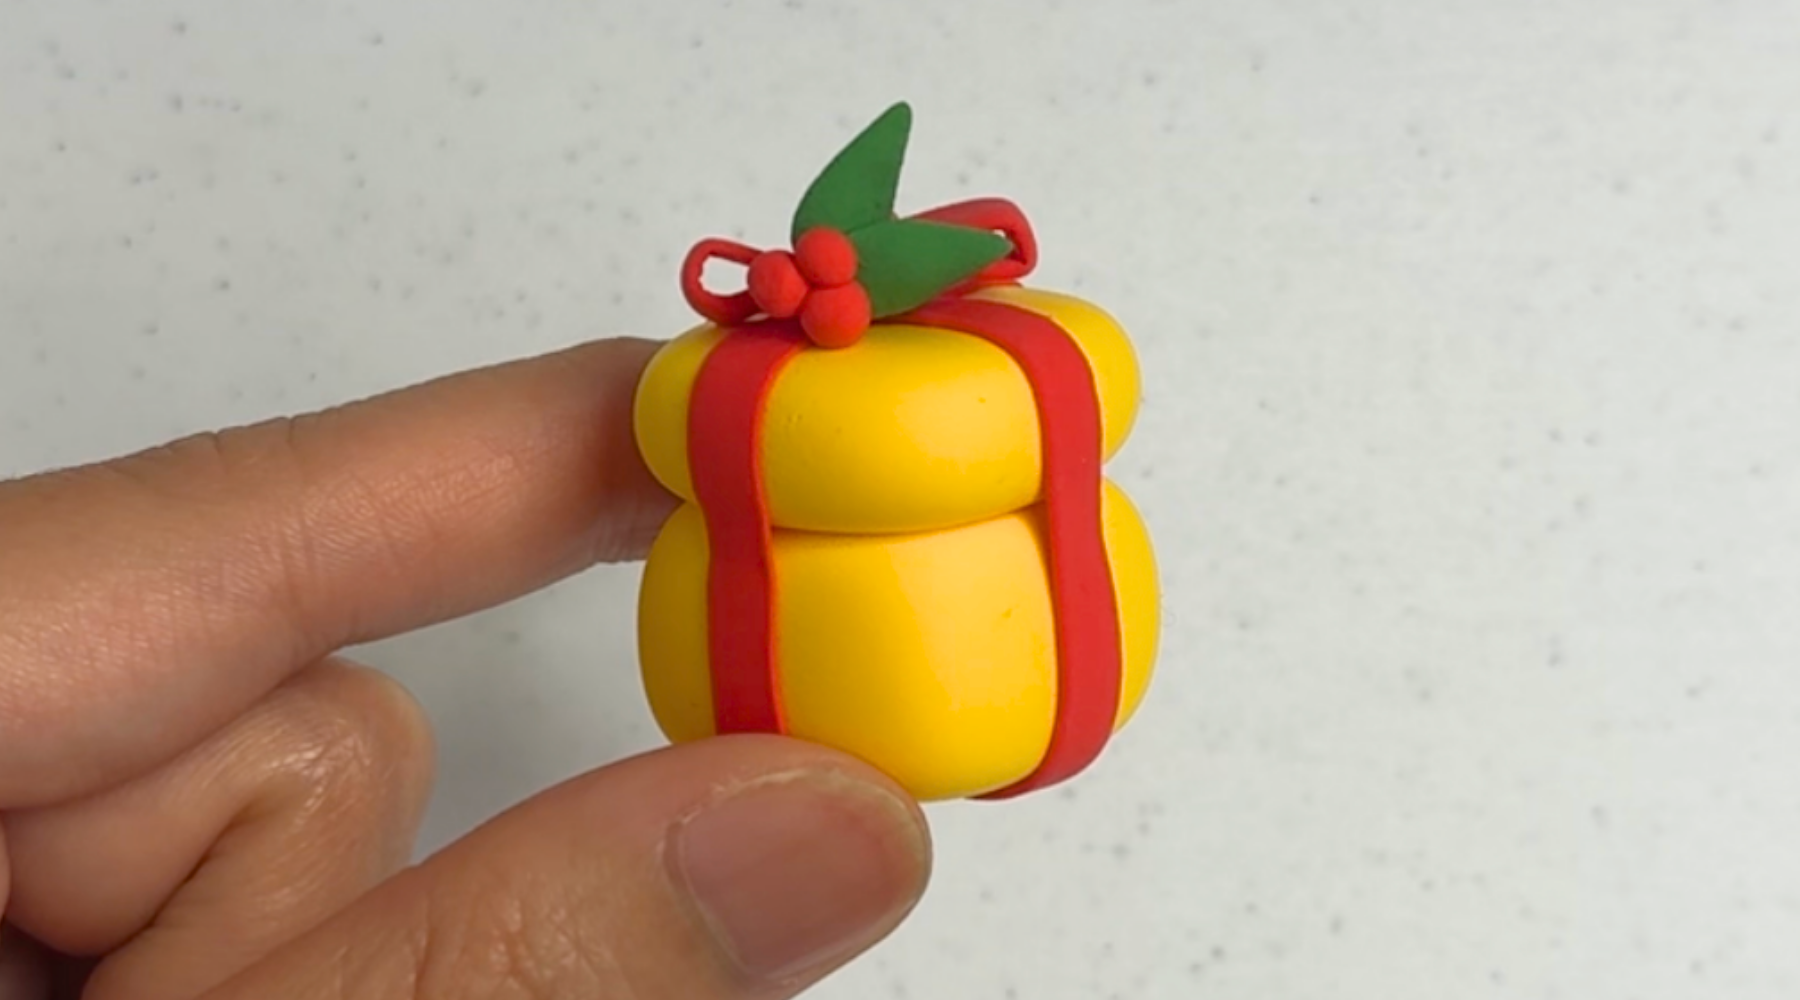
To make the yellow gift, shape 2 cubes using the mango yellow clay. Make one a little bigger and flatter for the lid on the top of the box. Make the other smaller with more depth for the body at the bottom of the gift box.
Step 8
Step 7
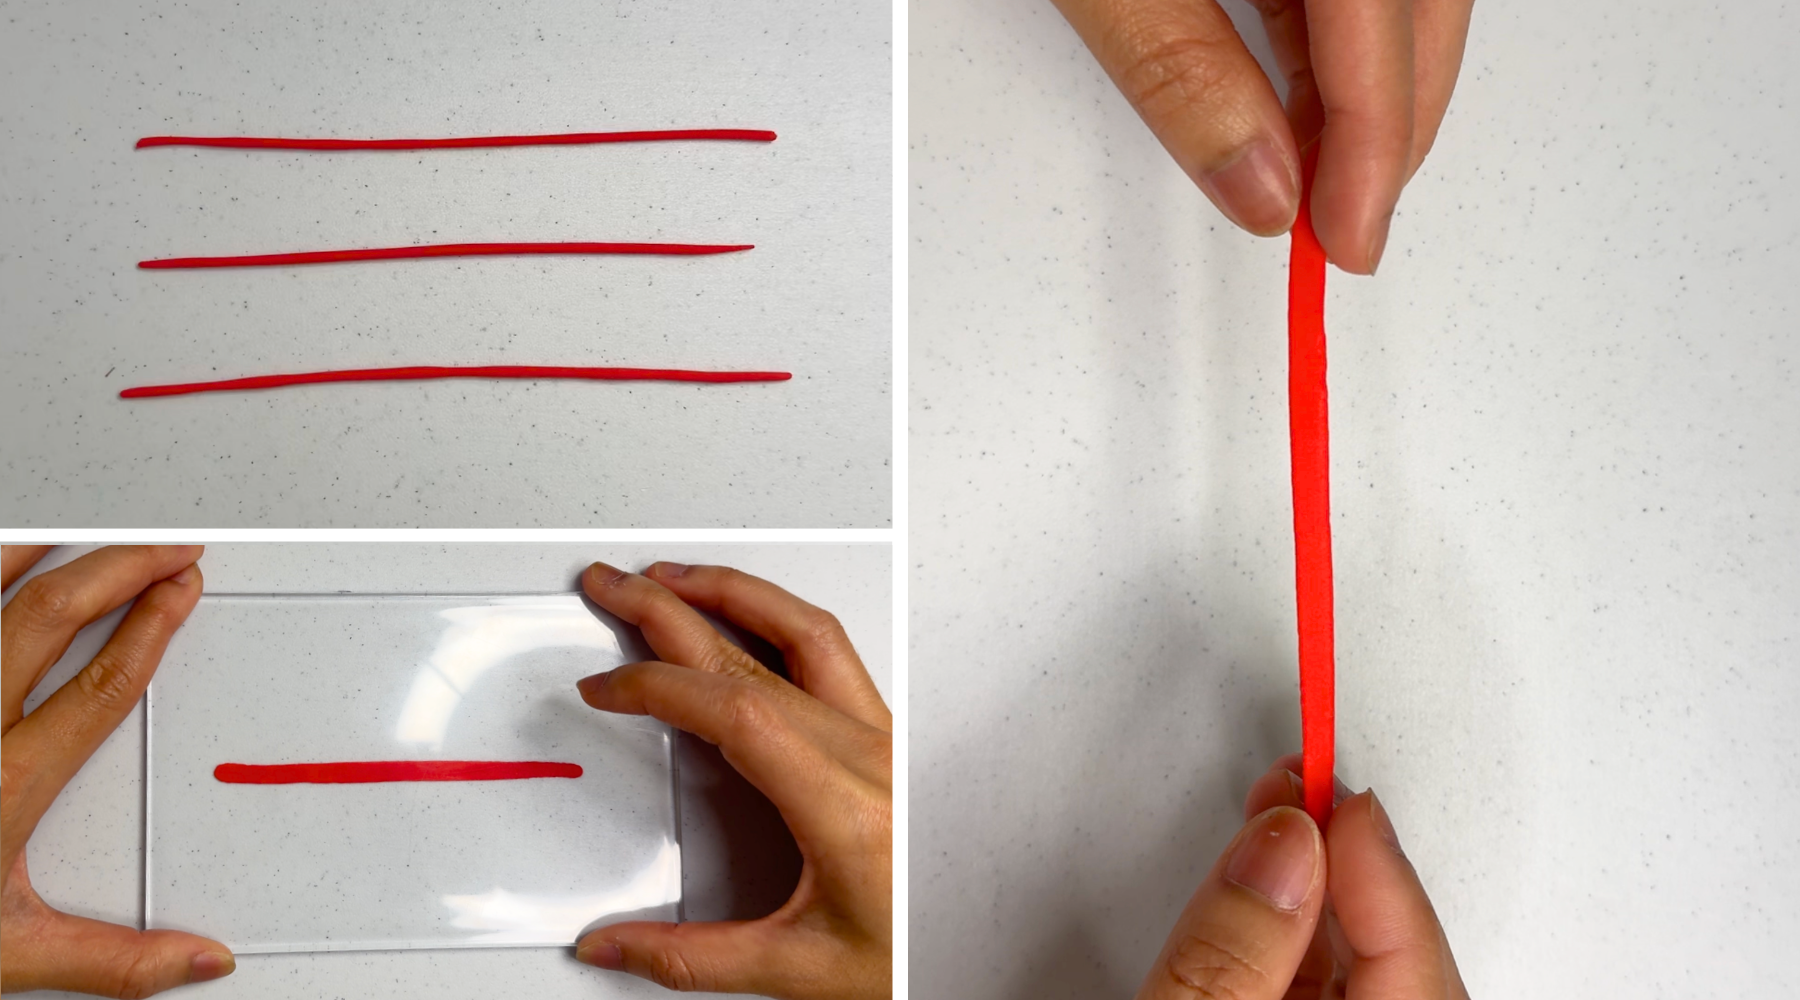
Roll 3 strings using the red clay. Use your palm first to roll it into a string. Then use the acrylic board to smooth the edges and flatten them.
Step 9
Step 8
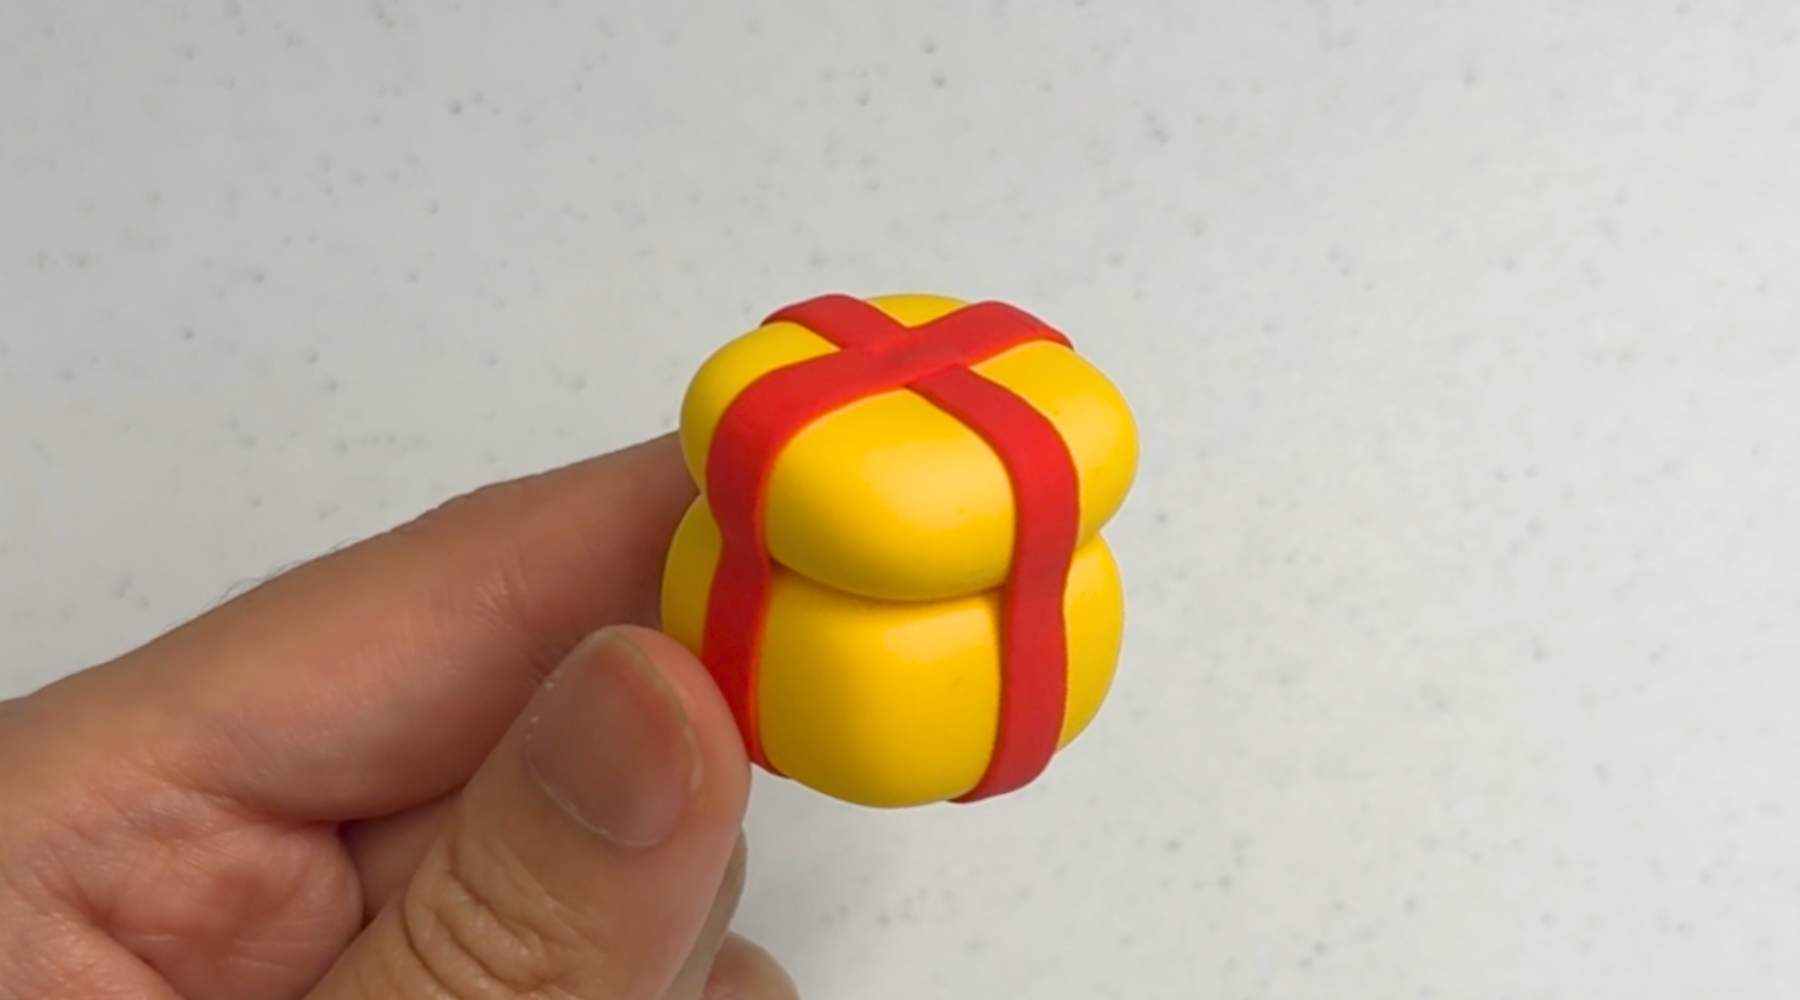
Wrap 2 strings around the boxes in a criss-cross. Trim off the excess with scissors.
Step 10
Step 9
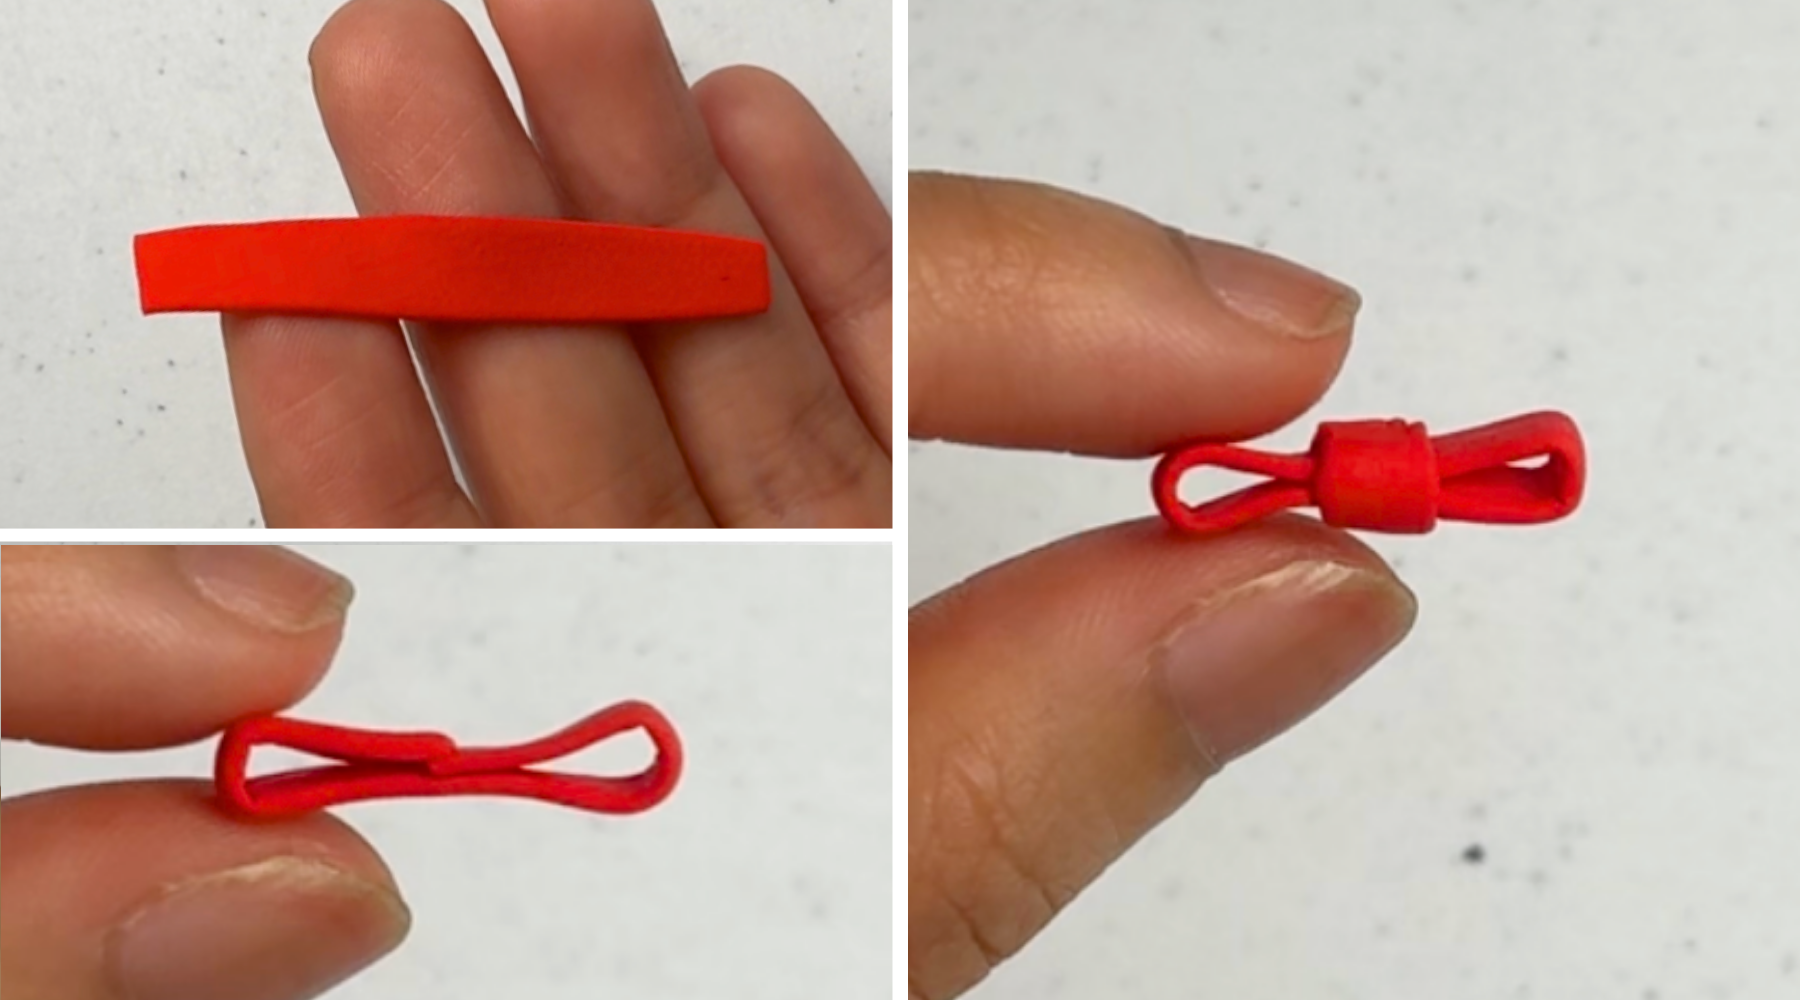
With the 3rd string, cut a length long enough to fold the ends to the center to make a ribbon. Use the extra part as the knot by wrapping it at the center where the 2 ends meet, and trim excess clay off.
Step 11
Step 10
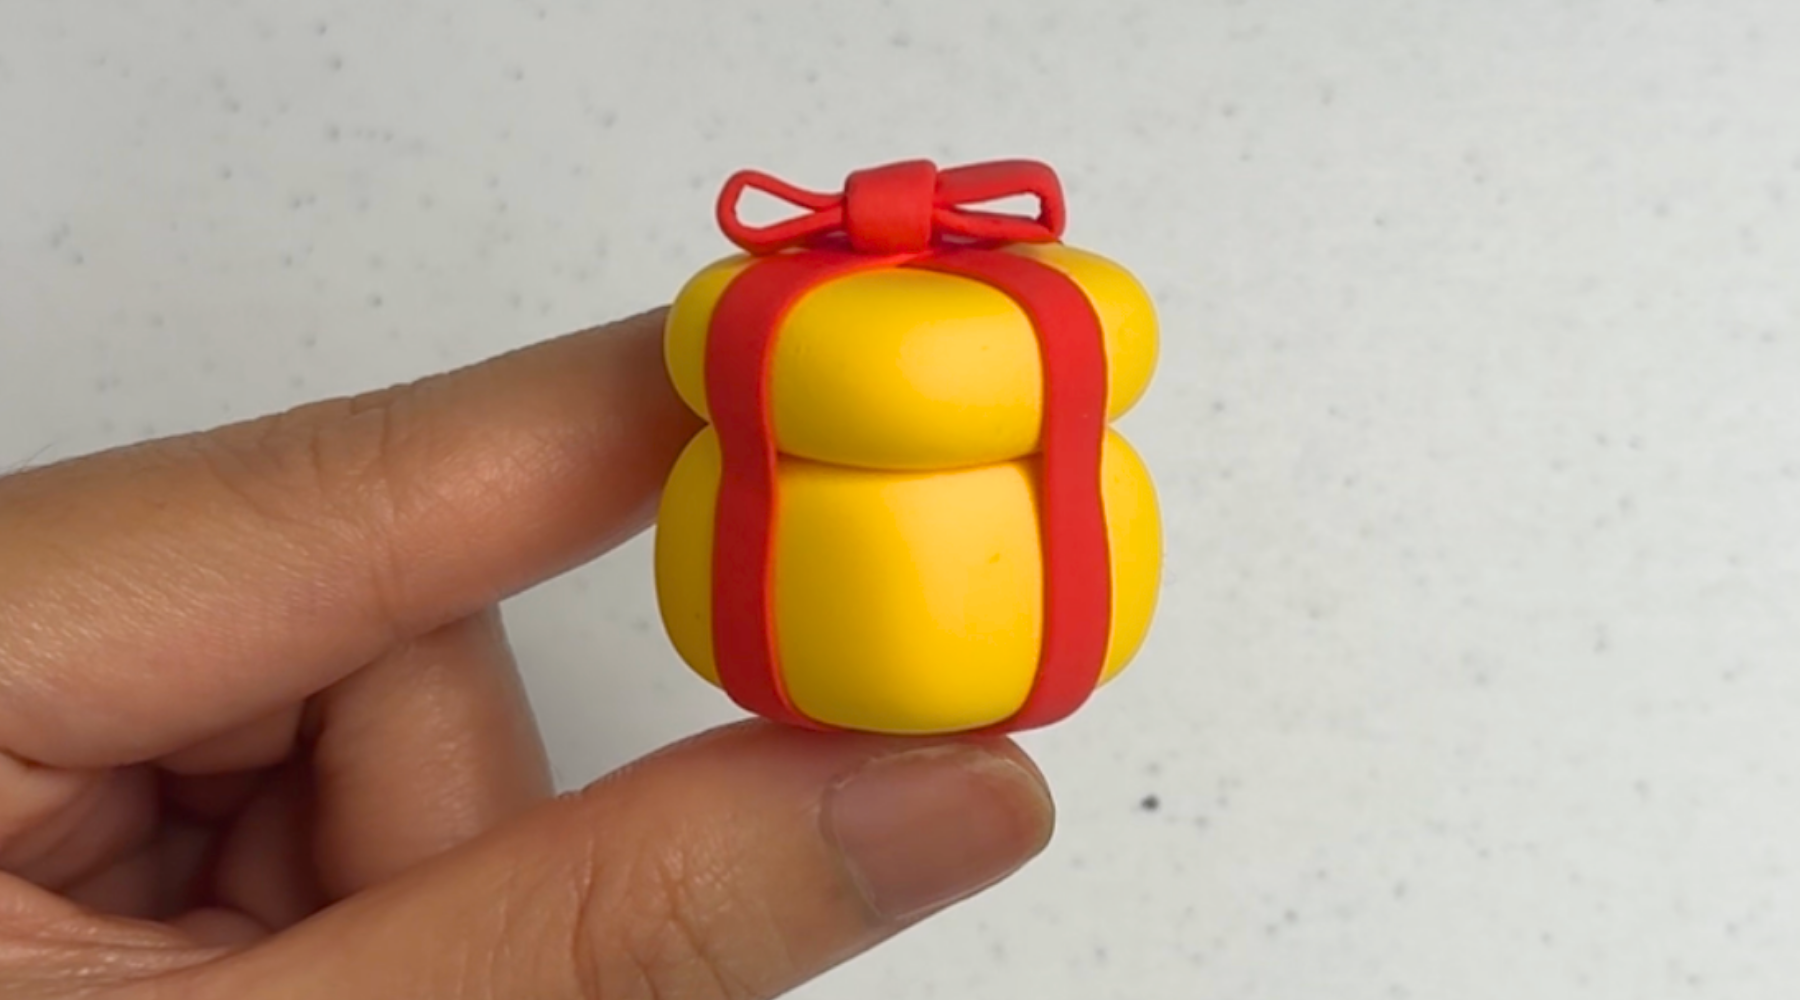
Attach the ribbon at the intersection on the top of the 2 strings.
Step 12
Step 11
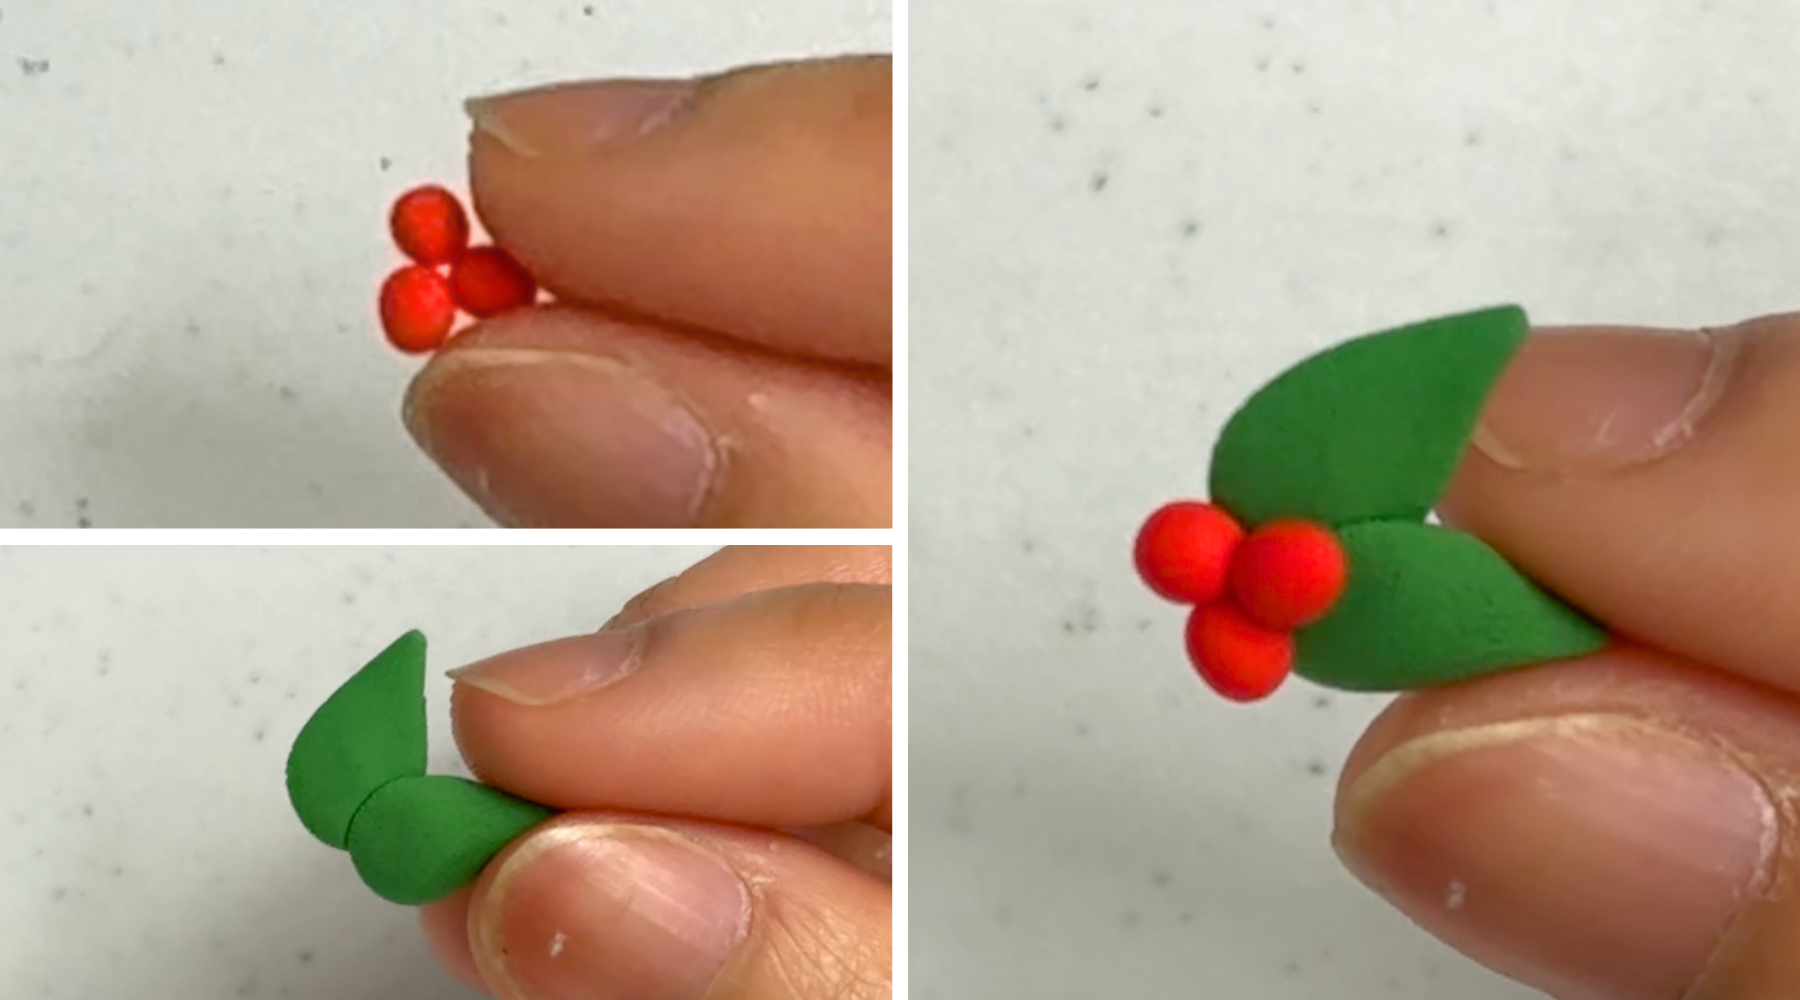
Roll 3 small balls using the red clay. Shape 2 teardrop shapes using the dark green clay and flatten them to make the leaves. Attach the 2 leaves together at the wider end. Attach the 3 balls on it to make the mistletoe decor.
Step 13
Step 12
Place the mistletoe in front of the ribbon.
Step 14
Step 13
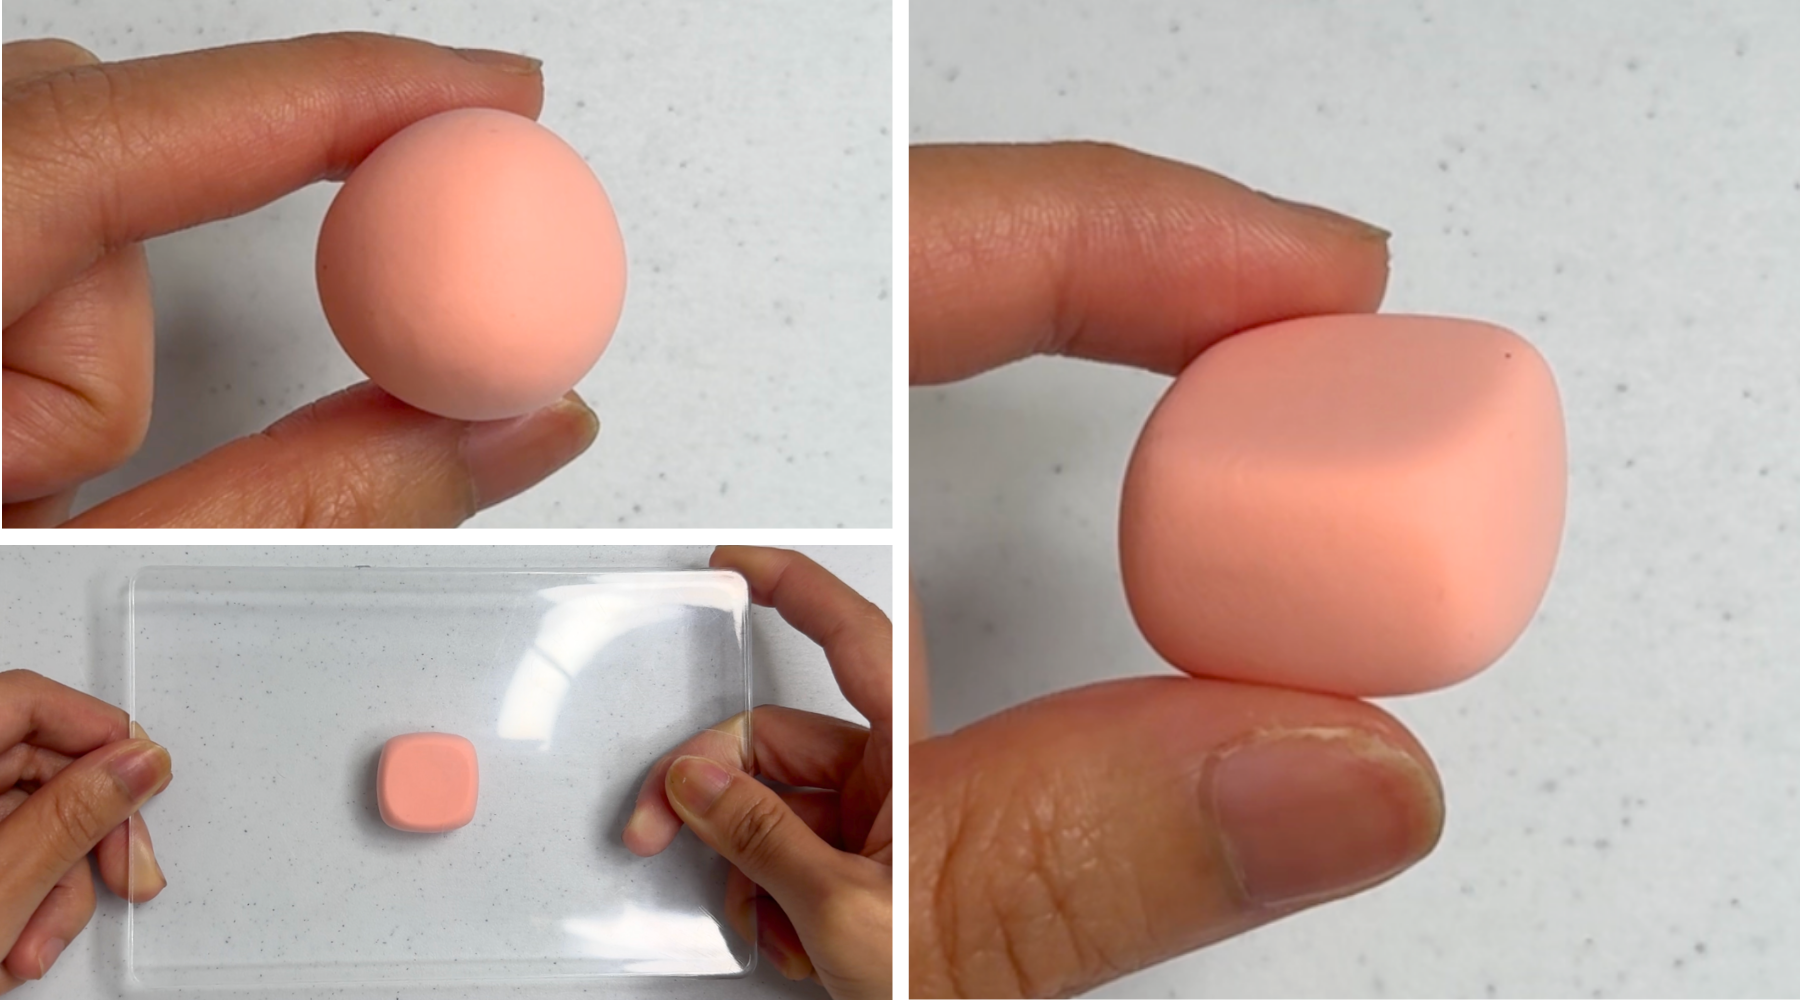
To make more gift boxes, shape a small cube using the pink clay for the box. Flatten the sides with the acrylic board.
Step 15
Step 14
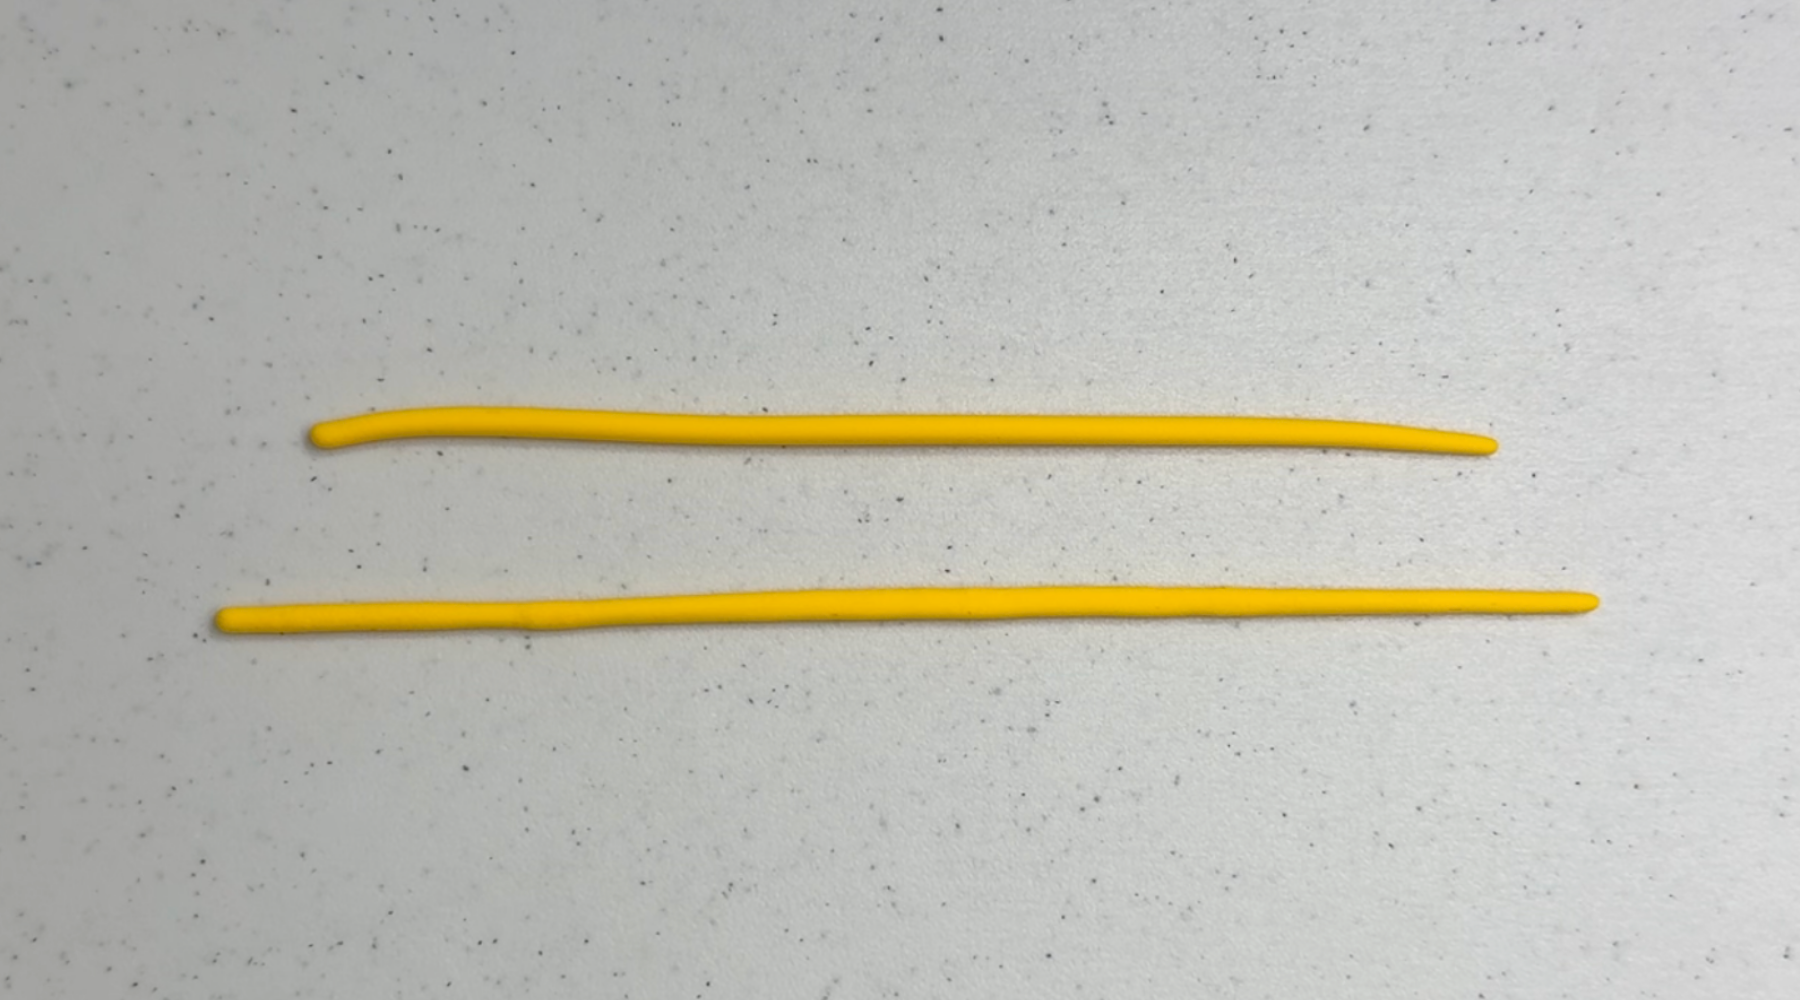
Roll 2 long, thin strings using the yellow clay.
Step 16
Step 15
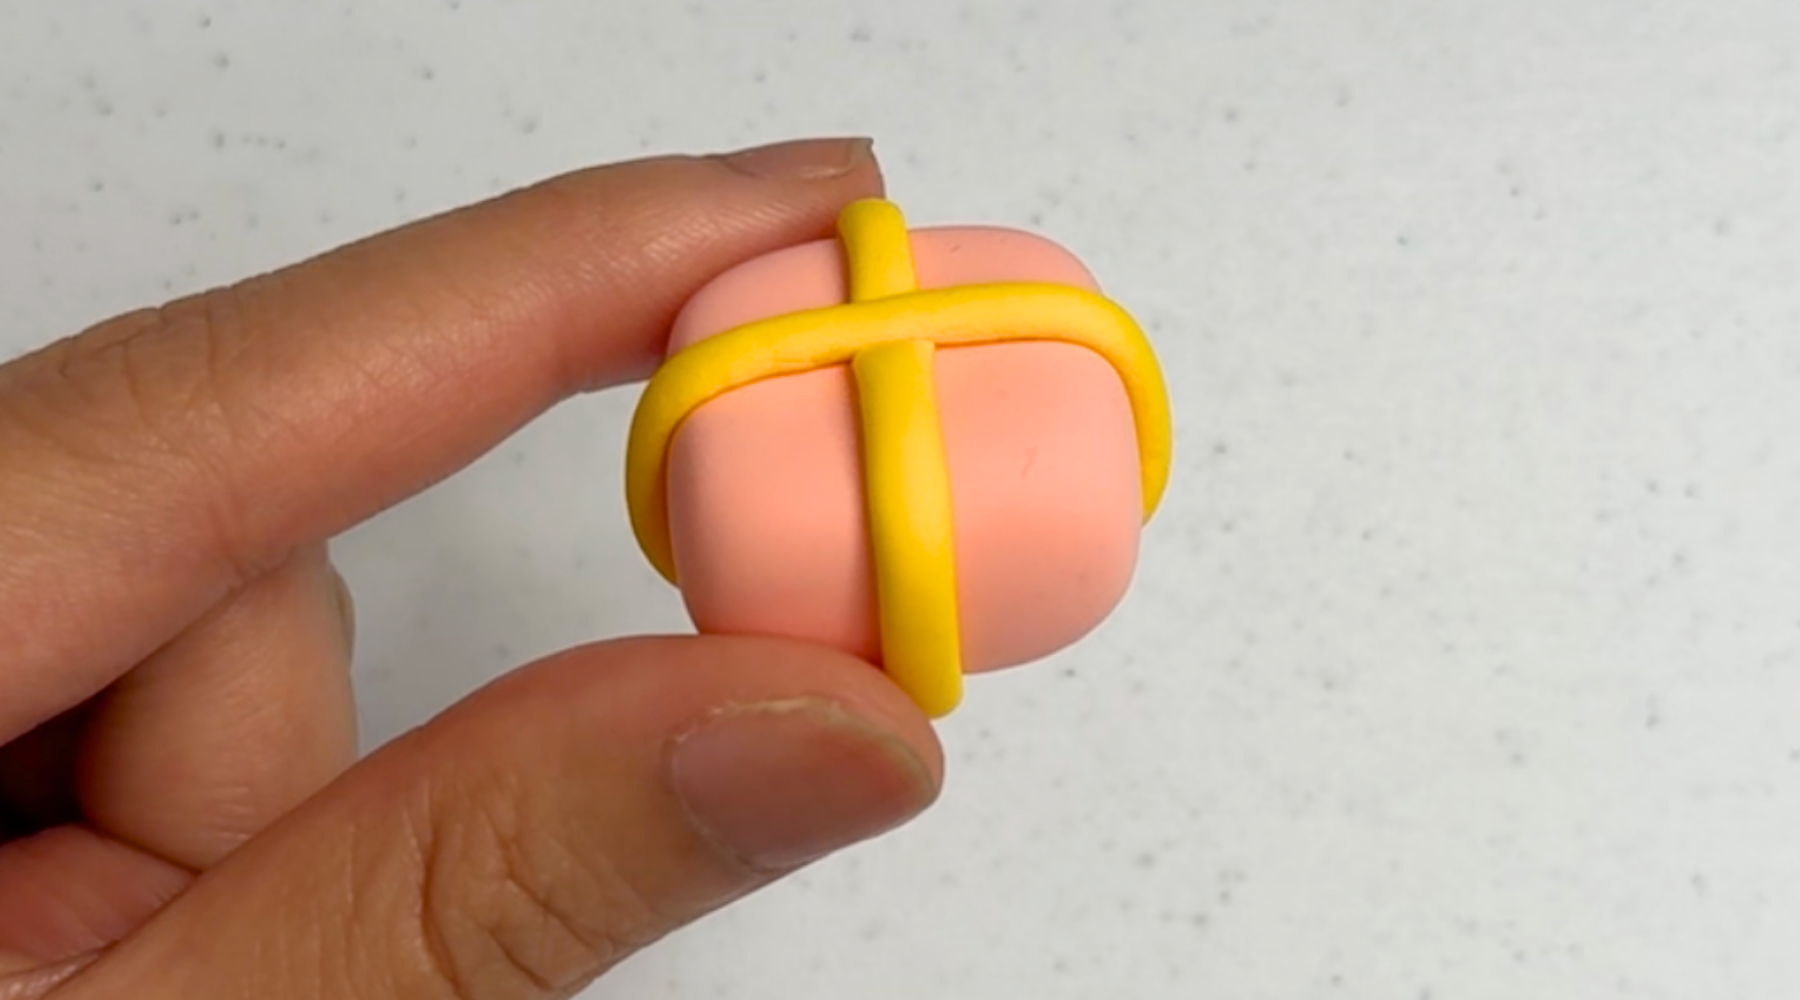
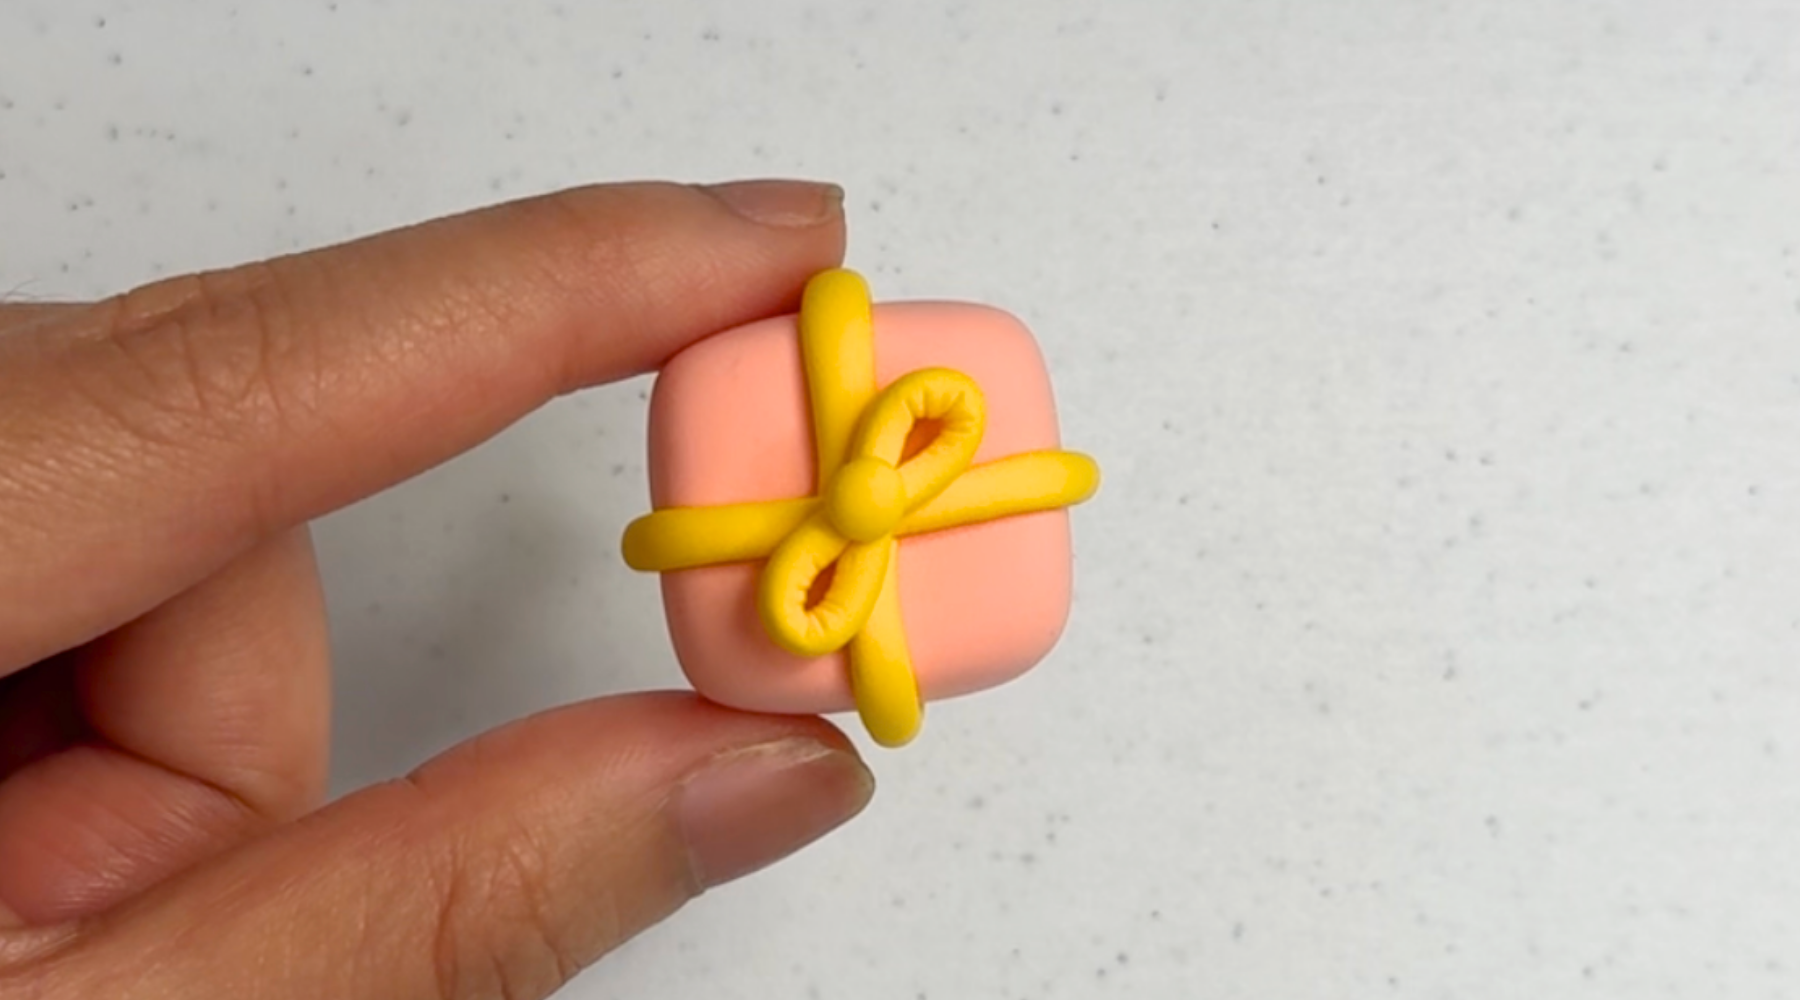
Wrap 2 strings around the box in a criss-cross.
Step 17
Step 16
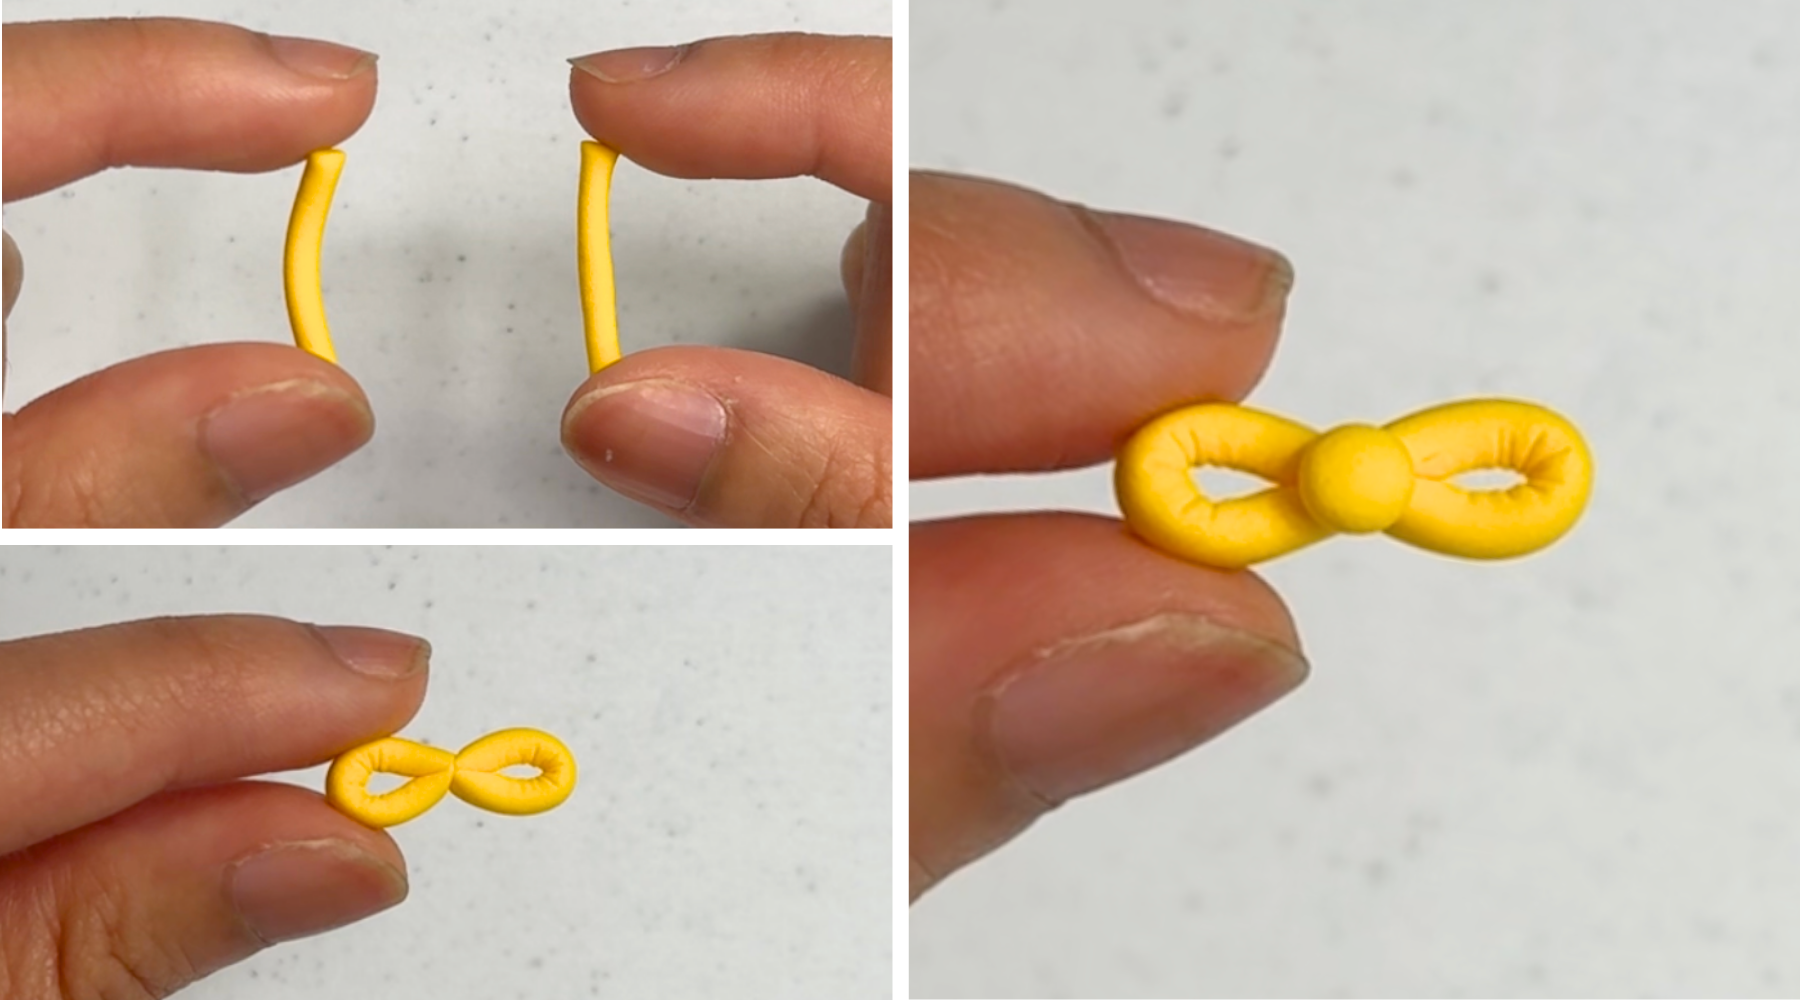
With the 3rd string, cut 2 short, even lengths. Fold each in the center and pinch the ends together. Attach both pinched sides together to make the ribbon. Roll a small ball using the extra clay to make the knot.
Step 18
Step 17
Attach the ribbon at the intersection in the center of the 2 strings.
Step 19
Step 18
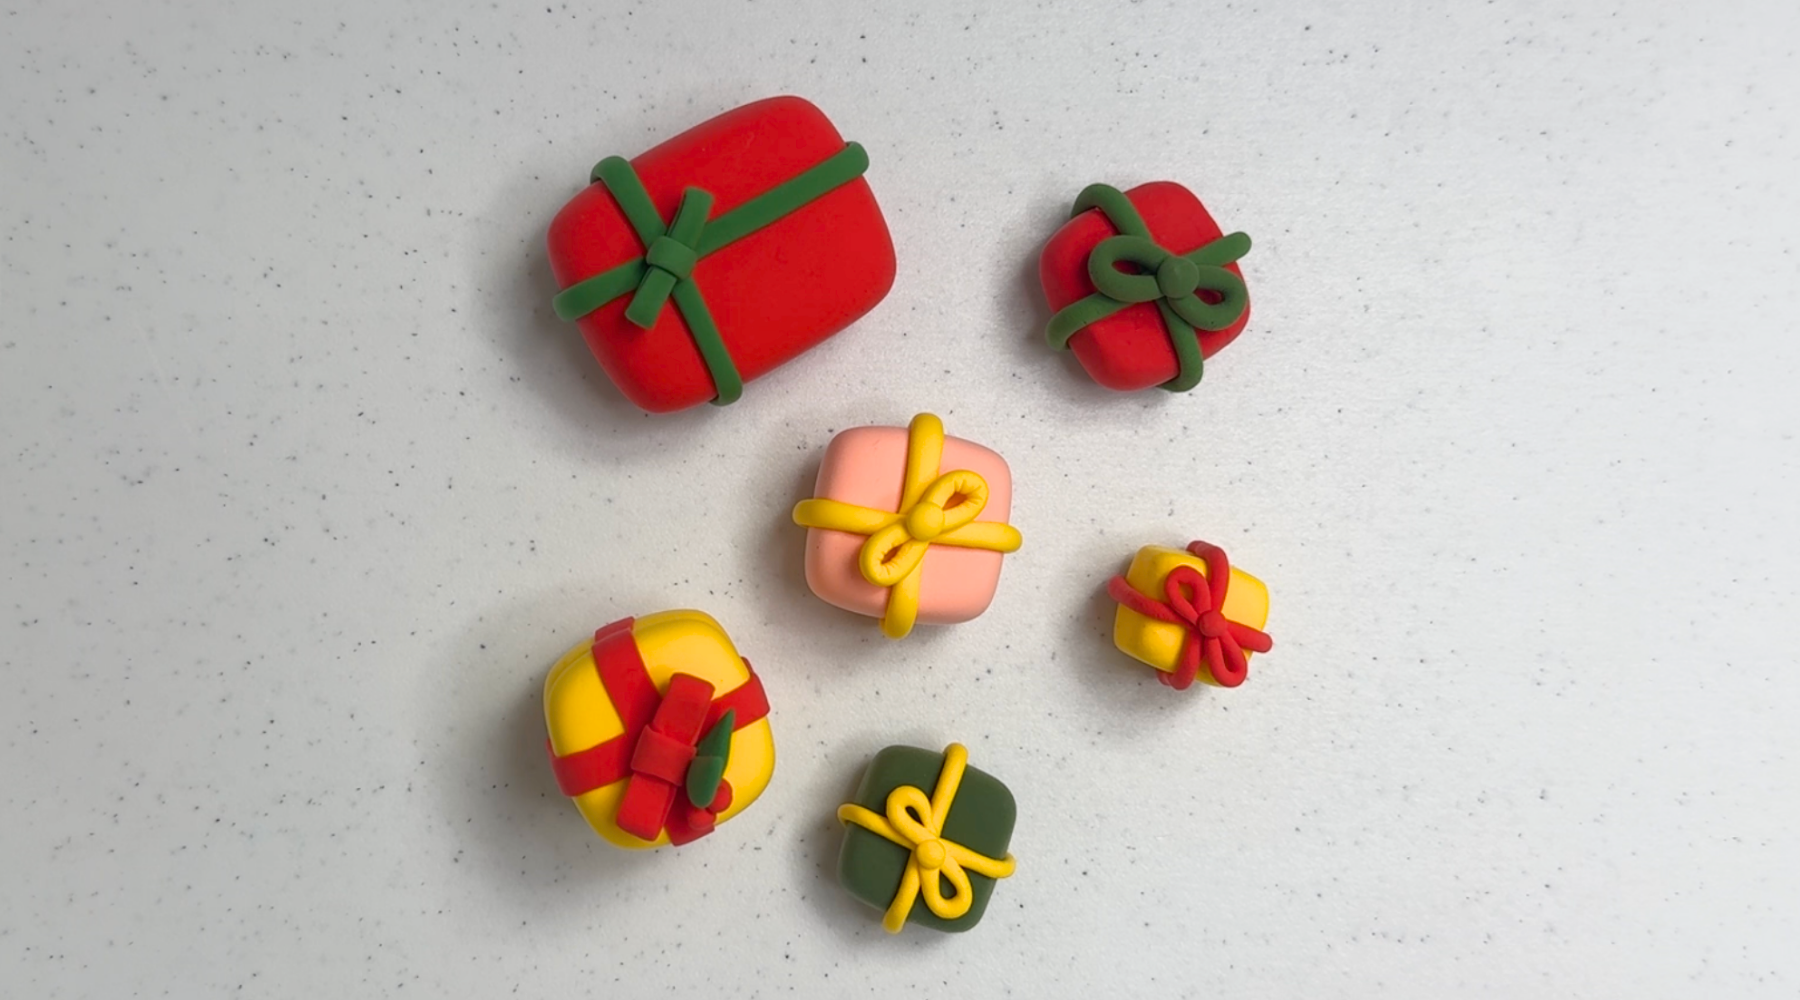
Make different variations by using different color combinations!